 Birch Bay Siding
 Board & Batten Siding for Nooksack Homes
Board and batten has a long history in Whatcom County, and it's easy to see why it still shows up on new construction and remodels around Nooksack. The vertical lines suit the area's rural character, and the profile reads well on everything from a modest farmhouse-style build to a larger country home on a bigger lot. It's a look that belongs here, not a trend borrowed from somewhere else.
But board and batten is also one of the least forgiving siding profiles to get wrong. It has more seams, more trim, and more places for water to find its way behind the cladding than a standard lap siding job. In a climate like ours, where the wood siding underneath older Nooksack homes has already shown what happens when moisture gets in and doesn't dry out, that matters. This page covers what a correct board and batten installation looks like for a Nooksack property, what our process involves, and why we install it in James Hardie fiber cement only.
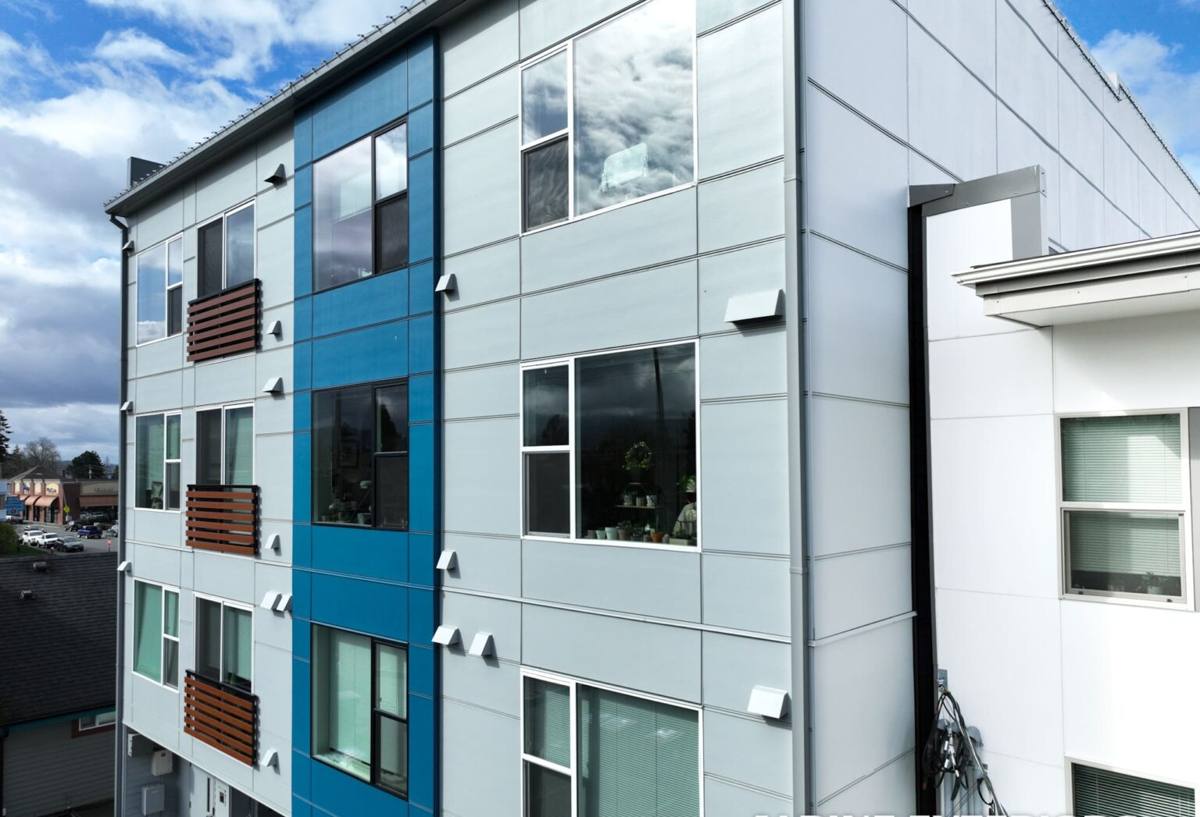
What Nooksack's Climate Does to Vertical Siding
Nooksack sits inland from the water, away from the direct salt exposure that Birch Bay and other coastal Whatcom County properties deal with, but it isn't spared the region's bigger problem: persistent, low-grade moisture. Sitting in the Nooksack River valley with tree cover and hillsides nearby, homes here can hold onto morning fog and shaded dampness longer than a home out in the open. Add driving rain off Pacific storm systems and a moss season that stretches across most of the fall, winter, and spring, and you have a climate that's constantly testing whatever is on the outside of the house.
Board and batten makes this worse if it's not built correctly, because every batten strip is a horizontal ledge and every seam between boards is a place water can sit. On a lap siding wall, gravity does most of the work of shedding water. On a board and batten wall, the details around fastening, flashing, and drainage are what keep water moving instead of collecting.
Where the Damage Usually Starts
On older Nooksack homes with wood or engineered wood board and batten, the failure pattern is consistent: moss and moisture build up on flat-topped battens and around butt joints first, paint or finish fails at those spots, and the substrate underneath softens from repeated wetting and drying. By the time it's visible from the ground, the damage has usually been developing for a few years.
Where Board & Batten Installations Go Wrong
Most of the problems we see on this profile trace back to a handful of installation shortcuts. None of them are visible on install day. All of them show up within a few years in a climate like ours.
Batten Spacing and Fastening
Battens need consistent spacing over the panel joints, and they need to be fastened according to the manufacturer's schedule, not just nailed wherever is convenient. Face-nailing too close to the batten edge, using the wrong fastener length, or skipping fasteners into structural framing all shorten the life of the installation and can void the warranty.
Flashing and the Drainage Plane Behind the Boards
Behind every board and batten wall should be a proper weather-resistive barrier and a drainage path for any water that gets past the cladding. Horizontal joints between panels need to be flashed, not just butted and caulked. Skipping this step is invisible at the time of install and is exactly the kind of shortcut that causes rot behind the siding years later.
Flat Battens and Moss-Prone Details
A batten with a perfectly flat top edge is a shelf for moss and standing moisture. Detailing that sheds water off the top of trim, keeping a clean gap at the base of the wall for drainage and ventilation, and avoiding tight caulked joints where water should instead be allowed to escape are all small decisions that determine whether the siding still looks good in ten years.
The James Hardie Board & Batten System We Install
We install James Hardie fiber cement exclusively, and board and batten is one of the profiles where that decision matters most. Hardie's system for this look is built around HardiePanel vertical siding, paired with HardieTrim battens over the panel joints, both finished in the factory ColorPlus finish system.
- HardiePanel vertical siding — fiber cement panels in smooth or cedarmill texture, engineered for the region's moisture exposure through Hardie's climate-specific HZ product line.
- HardieTrim battens — factory-finished trim boards installed over the panel seams, sized and fastened to Hardie's published spacing and fastening schedule rather than guesswork.
- ColorPlus factory finish — a baked-on finish on both the panels and the battens, which matters on a profile with this much visible trim, since field-painted touch-ups are one of the first things to show weathering.
- Non-combustible fiber cement core — doesn't absorb and hold water the way wood or engineered wood substrates do, which is the root cause of most board and batten failures in wet climates.
Fiber cement doesn't eliminate the need for good flashing, spacing, and fastening — a Hardie board and batten wall installed carelessly will still fail early. What it does is remove the substrate itself as a point of weakness, so the long-term outcome depends on workmanship, not on the material slowly breaking down from the inside.
Our Process for a Nooksack Board & Batten Project
- On-site assessment. We look at the existing siding and sheathing condition, wall exposures (which walls take the most driving rain and shade), and any moss or moisture staining already present.
- Tear-off and substrate check. Old siding comes off down to the sheathing so we can actually see what's underneath — this is where hidden rot or missed flashing from a prior install turns up.
- Weather-resistive barrier and flashing. A proper drainage plane goes on before any siding, with flashing detailed at every horizontal joint, window, door, and penetration.
- Panel and batten layout. Panel joints and batten spacing are planned out for the wall before installation starts, not adjusted on the fly.
- Installation to Hardie's fastening schedule. Panels and battens are fastened per manufacturer specification, into framing, with correct fastener spacing and edge distance.
- Trim and detail work. Corners, window and door trim, and the base of the wall are finished with drainage and ventilation in mind, not just sealed shut.
- Final walkthrough. We go over the finished job with the homeowner and point out anything they should know for long-term care.
Board & Batten vs. Other Siding Profiles for Nooksack Homes
Board and batten isn't the right call for every home, and part of an honest estimate is talking through how it compares to other profiles on your specific house.
| Profile | Look | Moisture Handling | Maintenance |
|---|---|---|---|
| Board & Batten | Vertical, farmhouse/rural character | More seams and trim to detail correctly; higher installation sensitivity | Low, if installed correctly in fiber cement |
| Lap Siding | Traditional horizontal lines | Naturally sheds water by design; fewer critical details | Low |
| Shingle/Panel Accent | Textured, often used as an accent | Depends heavily on underlayment and flashing at transitions | Low to moderate |
A lot of Nooksack homeowners end up choosing board and batten for the full house or as a front-elevation accent over lap siding on the rest of the home. Either approach works structurally as long as the transitions between profiles are flashed correctly.
What Affects the Cost of a Board & Batten Project
| Factor | Why It Matters |
|---|---|
| Full house vs. accent wall | Board and batten as a single-elevation accent costs far less than siding the whole home in it |
| Wall height and roofline complexity | Tall gables and cut-up rooflines mean more trim and cutting, which adds labor |
| Tear-off vs. new construction | Removing and disposing of old siding, and repairing any sheathing found underneath, adds time and cost over a new build |
| Trim and window/door detail | More openings and more decorative trim mean more flashing and fitting work |
| Site access | Steep lots, tree cover, or tight setbacks around a property can slow staging and scaffolding |
We won't quote a number without seeing the house — anyone who does hasn't actually looked at your walls, your roofline, or what's underneath the existing siding.
Why It Matters That We Already Work in Nooksack
Whatcom County covers a lot of ground, and building conditions on the coast at Birch Bay aren't identical to conditions inland toward Nooksack. A crew that already works this area knows the difference between a wall that gets hit with wind-driven salt spray and one that stays damp under tree cover for days after a storm, and details the siding accordingly. That's the kind of judgment that only comes from doing the work here repeatedly, not from a general specification sheet.
It also means straightforward logistics — material staging, permitting familiarity, and a crew that isn't learning the region's climate on your project.
Maintenance Checklist for Board & Batten Siding in Whatcom County
- Rinse the siding once or twice a year to clear pollen, dust, and the start of moss growth before it takes hold.
- Walk the house each fall and check battens and trim for any moss or dark staining, especially on shaded or north-facing walls.
- Keep gutters clear so overflow doesn't run directly down the wall face.
- Trim back vegetation and tree branches that keep any wall in constant shade and slow drying.
- Check caulking at windows, doors, and trim penetrations annually — caulk fails well before fiber cement or a ColorPlus finish does.
- Look at the base of the wall for any gap that's become blocked by mulch, soil, or debris, since that gap is part of the drainage design.
If you're considering board and batten for a home in Nooksack, we're happy to take a look at your walls, talk through what the profile would involve on your specific house, and put together a free, no-pressure estimate.