 Birch Bay Siding
 Windows Built for Cherry Point's Coastline, Not a Showroom Climate
Cherry Point sits out on the water side of Whatcom County, and homes here take a different kind of weather than houses even a few miles inland. Between the salt-laden air coming off the Strait, wind-driven rain that hits siding and window trim sideways instead of straight down, and a moss season that stretches from fall through spring, the building envelope around every window opening is under near-constant pressure. A window that performs fine in a sheltered inland neighborhood can fail early out here if it wasn't installed with this specific exposure in mind.
This page is about one job, done right, in one place: window installation for homes in and around Cherry Point. Not a general overview of every siding and roofing service we offer — just what it takes to put a window into a wall on this stretch of coast and have it stay watertight and functional for the long haul.
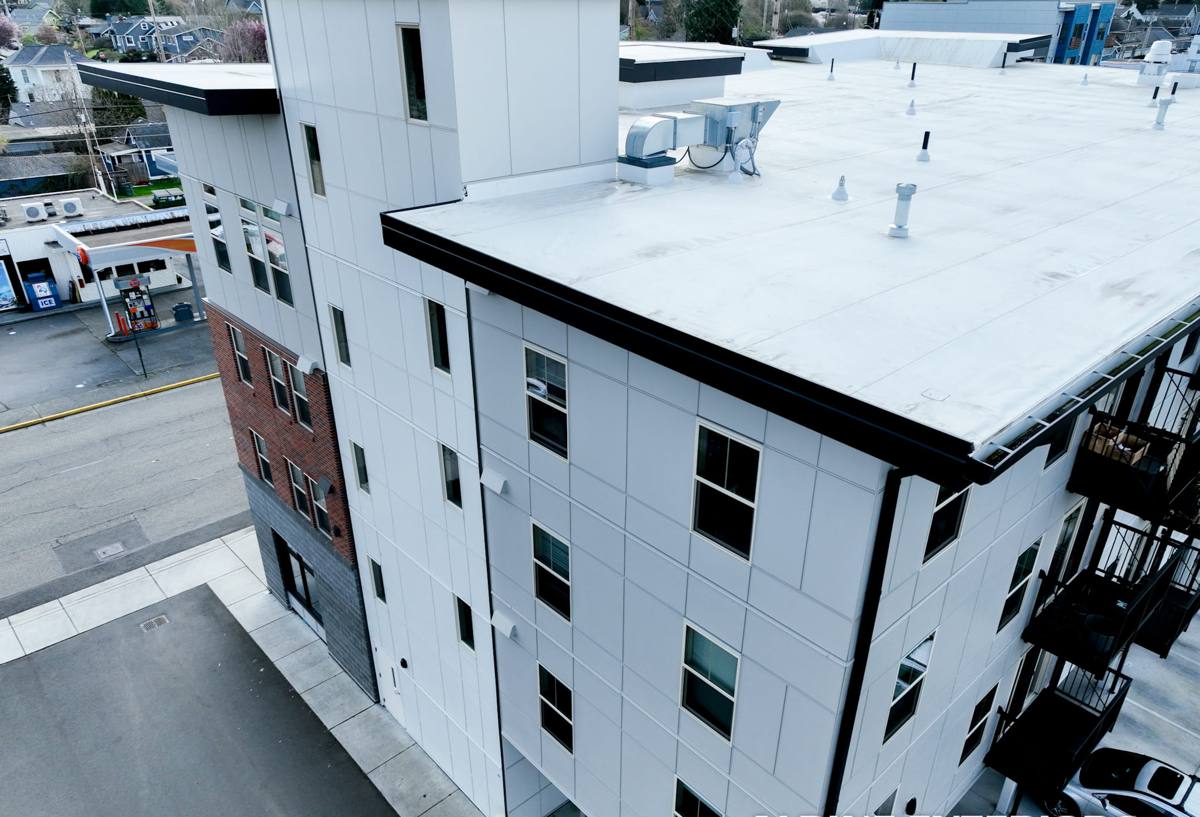
What Salt Air and Driving Rain Actually Do to a Window Opening
It's rarely the glass that fails first. The weak points are almost always at the edges — the flashing, the sealant joints, the fasteners, and the frame material itself.
- Salt air corrosion: Airborne salt accelerates corrosion on exposed metal fasteners, aluminum cladding, and hardware. Left unprotected, this can pit and weaken components that are supposed to hold a window tight to the wall for decades.
- Wind-driven rain intrusion: Storms off the water don't just fall on a window, they push against it. Any gap in the flashing sequence or a bead of sealant that wasn't tooled properly becomes an entry point under that kind of pressure.
- Moss and moisture cycling: A long moss season means extended periods where trim, sills, and the wall assembly around a window stay damp instead of drying out. Wood components that aren't detailed correctly can start to soften from the inside before anything looks wrong on the surface.
- Temperature and condensation swings: Cooler, damp air held near glass surfaces increases the odds of interior condensation on lower-performing windows, which over time can contribute to sill and sash damage.
None of this means windows can't hold up at Cherry Point — it means the installation details that get skipped in a rush job are exactly the details that matter most here.
Signs a Cherry Point Home's Windows Need Attention
Homeowners in this area tend to notice a handful of consistent warning signs before a full window failure:
- Soft or discolored trim and sill wood, especially on the side of the house that faces prevailing weather
- Fogging or visible moisture between panes on double- or triple-glazed units
- Drafts felt near the frame even when the window is fully latched
- Difficulty opening, closing, or locking a window that used to operate smoothly
- Visible moss or persistent green staining building up on horizontal trim surfaces
- Peeling paint or bubbling finish concentrated around the window opening rather than the wall in general
Catching these early usually means a planned replacement on your own timeline. Waiting until there's soft sheathing behind the window usually means a bigger repair than the window itself.
Choosing the Right Frame Material for This Location
There's no single "best" window material for every house — it depends on your home's style, budget, and how exposed the opening is to salt air and driving rain. Here's how the common options actually perform in a Cherry Point / Birch Bay setting:
| Frame Material | Coastal Performance | Trade-offs to Know |
|---|---|---|
| Vinyl | Doesn't corrode from salt air; low maintenance; good sealed-unit performance | Can't be painted to change color later; quality varies a lot between manufacturers |
| Fiberglass | Very stable in temperature swings and moisture; strong resistance to warping | Higher upfront cost than vinyl |
| Wood (clad exterior) | Classic look, good interior insulation | Exterior cladding and flashing detail must be exact — any gap invites moisture into the wood core over time |
| Aluminum | Strong and slim sightlines | Conducts cold and is more prone to corrosion pitting in salt air unless properly finished and maintained |
For most homes directly exposed to Cherry Point's wind and salt, we steer conversations toward vinyl or fiberglass for lower long-term maintenance, or wood-clad when the homeowner wants a specific interior look and understands the maintenance commitment. We'll walk through what makes sense for your specific exposure and budget rather than pushing one product line.
What a Correct Installation Actually Involves
The window unit itself is only part of the job. The installation sequence around it is what determines whether that window stays dry for 20-plus years or starts leaking in five. A proper install in this climate includes:
- Removing the old window and fully inspecting the rough opening and sheathing for hidden rot or prior water damage before anything new goes in
- Repairing or replacing any compromised framing or sheathing — never installing a new window over a damaged opening
- Installing a self-adhered flashing membrane at the sill pan first, so any water that does get past the window has a path back out
- Sequencing side and head flashing correctly (shingle-style, so water always sheds downward and outward, never into a seam)
- Setting the window level, plumb, and square, with proper shimming so it operates correctly and seals evenly
- Using fasteners and hardware rated for corrosion resistance in coastal/marine-adjacent conditions
- Sealing with the correct sealant for the substrate — not just caulking over the trim and calling it finished
- Tying the new flashing correctly into the existing weather-resistive barrier and siding, so water is directed out, not trapped behind the wall
- Final interior and exterior inspection, including operation check and a look at reveal lines and trim finish
Skip the sill pan flashing or rush the tie-in to the wall's moisture barrier, and the window can look perfect for a year or two while water is already working its way behind the trim.
Our Process, Start to Finish
1. On-site assessment
We look at each opening individually — sun and wind exposure, current condition of the trim and sheathing, and how the house's existing siding and flashing are built. Cherry Point homes vary in age and construction, so we don't assume one detail works for every wall.
2. Product selection
We go over frame material, glass package, and performance options based on your budget and how exposed that particular wall is, not a one-size answer for the whole house.
3. Written estimate
You get a clear, itemized quote before any work starts — no surprise add-ons discovered mid-job unless we find hidden damage once the old window comes out, which we'll always show you and discuss before proceeding.
4. Installation
Old window out, opening inspected and repaired as needed, new window installed with full flashing and sealing sequence, interior and exterior finish work completed.
5. Walkthrough
We check operation on every window installed, confirm the exterior finish looks clean, and answer any questions before we consider the job done.
Cost Factors for This Job
Every project is different, but the main variables that move the price on a Cherry Point window installation are generally the same:
| Factor | Why It Matters |
|---|---|
| Frame material chosen | Vinyl, fiberglass, and wood-clad carry different material costs |
| Number and size of openings | Larger or custom-sized units and higher window counts increase both material and labor time |
| Condition of the existing opening | Hidden rot or water damage found during removal adds repair work before the new window goes in |
| Exposure of the wall | Openings facing prevailing wind and rain may warrant upgraded flashing details or glass packages |
| Access and site conditions | Second-story or hard-to-access openings take longer to stage and complete safely |
We'd rather walk your specific windows and give you real numbers than throw out a broad estimate that doesn't hold up once we see the actual condition of your openings.
Why a Crew That Already Works Cherry Point Matters
Window installation isn't just a product install — it's a moisture-management job first. A crew that regularly works the Birch Bay and Cherry Point area already understands how this specific coastline behaves: which wall orientations take the worst of the wind-driven rain, how quickly moss establishes on horizontal trim out here, and where salt air does the most damage to fasteners and hardware over time. That familiarity shows up in the details — flashing sequences, sealant choices, and fastener selection — not in anything flashy, just fewer callbacks and windows that hold up the way they're supposed to.
It also means we're a known, findable crew if a warranty question or a maintenance question comes up five or ten years down the line — not a company that did one job in the area and moved on.
Protecting Your Investment After Installation
A correctly installed window still benefits from basic upkeep in this climate:
- Rinse salt residue off frames and glass periodically, especially on wind-exposed sides of the house
- Keep moss and organic buildup cleared off sills and horizontal trim so moisture doesn't sit against the surface
- Check exterior sealant joints yearly for cracking or separation and have them touched up before they fail
- Operate each window a few times a season so hardware doesn't seize from disuse
- Keep gutters and downspouts clear so roof runoff isn't sheeting down across upper window openings
None of this is heavy maintenance — it's the kind of five-minute-per-window check that keeps a properly installed window performing for its full lifespan instead of fighting an installation shortcut.
If you're weighing window replacement for a Cherry Point or Birch Bay home, we're glad to take a look and give you a straight, no-pressure estimate — just fill out the form below and we'll go from there.