 Birch Bay Siding
 New-Construction Windows for Terrell Creek Homes
Building new near Birch Bay means dealing with Terrell Creek's particular mix of coastal exposure and Whatcom County wet weather from day one. New-construction window installation is a different job from a replacement — there's no existing frame to work around, no old flashing to inspect and patch. Instead, the window has to be integrated correctly into the rough opening, the weather-resistive barrier, and the siding plan before any of those layers are closed up. Get that sequence right and the house stays dry for decades. Get it wrong, and problems don't show up until the drywall is already painted.
We install new-construction windows for homes going up in and around Terrell Creek, working directly with builders, framers, and homeowners managing their own build. This page covers what correct new-construction window installation actually involves out here, and why the coastal conditions around Birch Bay change some of the decisions.
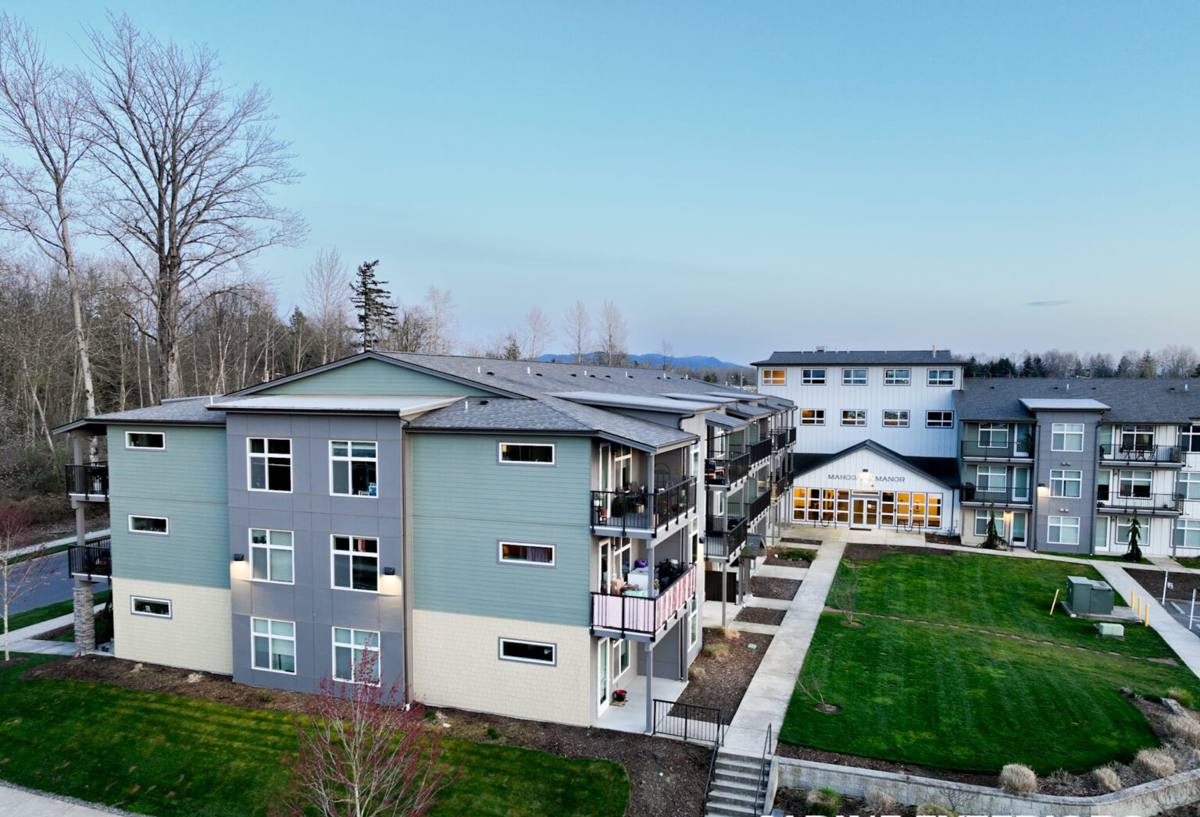
Why Terrell Creek's Climate Changes the Window Plan
Terrell Creek sits close enough to the water that salt-laden air is a real factor in material selection and hardware longevity, not a theoretical concern. Add in Whatcom County's driving rain — wind-driven, not just straight-down — and a long stretch of the year where moisture sits on north- and west-facing walls long enough to grow moss and mildew, and you've got three separate stresses working on every window opening at once.
Salt Air
Salt air accelerates corrosion on window hardware — hinges, locks, cranks, and especially uncoated or lower-grade fasteners. It also degrades certain finishes faster than inland installations would show. This doesn't rule out any one frame material, but it does mean hardware grade and finish quality matter more here than they would fifty miles inland.
Driving Rain
Wind-driven rain finds gaps that vertical rain never would. On new construction, this shows up as pressure against the window's outer flange and up under the head flashing during storms. The flashing detail at the head of the window — not just the sill — has to be built to shed water that's being pushed sideways and slightly upward, not just falling straight down.
Moss and Sustained Moisture
Whatcom County's long damp season keeps north-facing and shaded walls wet for extended stretches. That moisture doesn't just feed moss on roofs and siding — it sits against window trim and sills long enough to matter if the water management behind the trim isn't sound. A window can look perfectly installed from the outside and still be routing water into the wall assembly if the sill pan and flashing were skipped or done out of order.
Frame Materials and Glass: What We Recommend and Why
There's no single "best" window for every new build, but for Terrell Creek's exposure, some choices hold up better than others over time. We walk every client through the trade-offs rather than pushing one product.
| Frame Material | Coastal Performance | Maintenance | Typical Fit |
|---|---|---|---|
| Vinyl | Good — won't corrode or rot; UV-stable finishes hold up well | Low | Most new-construction budgets; strong value |
| Fiberglass | Excellent — very stable in temperature swings and salt exposure | Low | Higher-end builds wanting long service life |
| Wood-clad | Fair to good depending on clad quality; interior wood needs protection from condensation | Moderate — clad exterior helps, but seams and cladding gaps need monitoring near salt air | Homeowners wanting a wood interior look |
| Aluminum | Poor without upgraded thermal break and coastal-rated hardware — prone to corrosion and condensation | Higher | Rarely our recommendation for this location |
On glass, we default clients toward a double-pane, low-E package rated for the Pacific Northwest's mild-but-wet climate, with attention to the U-factor and solar heat gain coefficient required under Washington's energy code (more on that below). Argon-filled units are standard practice here and worth the modest upcharge for the added insulating value.
The Water Management Sequence — Where New Construction Gets It Right or Wrong
This is the part of new-construction window work that actually determines whether the house stays dry. It has to happen in order, and it has to happen before the siding goes on.
1. Sill Pan First
Every rough opening gets a sloped sill pan before the window ever sits in it. This gives any water that gets past the window a way out instead of a place to pool.
2. Flashing Tape at the Jambs and Head
Self-adhered flashing tape integrates the window flange with the weather-resistive barrier in a specific shingle-lap order — sill, then jambs, then head — so water always sheds downward and outward, never into a seam.
3. Head Flashing Detail
Given how much wind-driven rain Terrell Creek sees, we pay particular attention to the head flashing detail — this is the piece most likely to be shortchanged on a fast-moving new build, and it's the one that matters most in a storm blowing rain sideways off the water.
4. Backer Rod and Sealant, Not Sealant Alone
Gaps around the frame get backer rod before sealant is applied, so the sealant forms a proper flexible joint instead of a thin skin that cracks with the building's normal movement.
Skipping or reordering any of these steps is the single most common cause of hidden water intrusion in new builds — and it's invisible until there's a stain on drywall or rot in a sill years later.
Washington Energy Code and Whatcom County Requirements
New-construction windows in Washington State have to meet current state energy code requirements for U-factor and, depending on the home's overall compliance path, solar heat gain coefficient. Egress requirements also apply to bedroom windows — minimum opening size and sill height above the finished floor. On a new build, these aren't optional add-ons; they're part of what has to be documented for inspection. We spec windows against the applicable code requirements up front so there are no surprises at the inspection stage, and we coordinate sizing and egress compliance with the framer's rough openings before anything is ordered.
Our Installation Process
- Review the window schedule and rough openings against the plans, and flag any mismatches before ordering
- Confirm energy code compliance (U-factor, egress) for every unit on the schedule
- Install sill pans and flashing tape in correct sequence at each opening
- Set and shim windows plumb, level, and square — checked at every unit, not spot-checked
- Fasten per manufacturer specification to preserve warranty coverage
- Integrate head, jamb, and sill flashing with the weather-resistive barrier
- Apply backer rod and sealant at interior and exterior gaps
- Walk every opening with the builder or homeowner before siding closes it up
Coordinating with Builders and Other Trades
New-construction windows don't get installed in isolation — timing with the framer, the WRB installer, and the siding crew matters. Windows going in too early or too late relative to the house wrap can force rework or leave gaps in the water management layer. We work directly with general contractors and framing crews on scheduling, and we're equally comfortable working with a homeowner acting as their own GC — in that case, we'll flag what needs to happen before and after our crew is on-site so nothing gets closed up prematurely.
Checklist: What to Confirm Before Windows Go In
- Rough openings match the window schedule, with allowance for shimming
- Weather-resistive barrier is installed and ready to integrate with flashing
- Window units on-site match the ordered spec (size, U-factor, egress rating)
- Sill pan material and flashing tape are on hand before the crew starts
- Head flashing detail is planned for, not improvised on the day
- Fastening pattern matches manufacturer requirements for warranty coverage
- Siding crew's start date allows the sealant to cure before it's covered
Why a Crew That Knows Terrell Creek Matters
A window that's technically installed to code can still underperform if the crew doesn't understand what this specific stretch of coastline throws at a house. Terrell Creek homes deal with salt air corrosion, wind-driven rain, and a moss season that keeps walls damp longer than most of the state — a crew that's worked other homes in this same pocket of Birch Bay knows which details need the extra attention and which shortcuts simply don't hold up out here. We're not guessing at coastal Whatcom County conditions from a manual; we're building to what actually happens on these lots year after year.
If you're planning new construction in Terrell Creek and want windows installed right the first time, we're happy to walk the plans with you. Reach out through the form below for a free, no-pressure estimate.