 Birch Bay Siding
 New-Construction Windows Built for Sumas Conditions
Putting windows into a new build is not the same job as replacing an old window in an existing wall. On new construction, the window is going into a rough opening with no history, no prior flashing, and no old caulk lines to hide behind. That's an advantage if the work is done right, and a liability if it isn't. In Sumas and the rest of our Whatcom County service area, that first installation has to hold up against salt-laden air, driving rain that comes in sideways off the water, and a moss season that stretches longer here than in drier parts of the state. Get the window-to-wall connection wrong at the framing stage, and you're setting up a homeowner for rot, staining, or air leaks that won't show up for a few years — by which point it's a much bigger repair.
We install new-construction windows as part of full builds and additions throughout the Birch Bay area, and Sumas jobs get the same standard: correct flashing sequence, correct fastening, and materials chosen for what this climate actually does to a house over time.
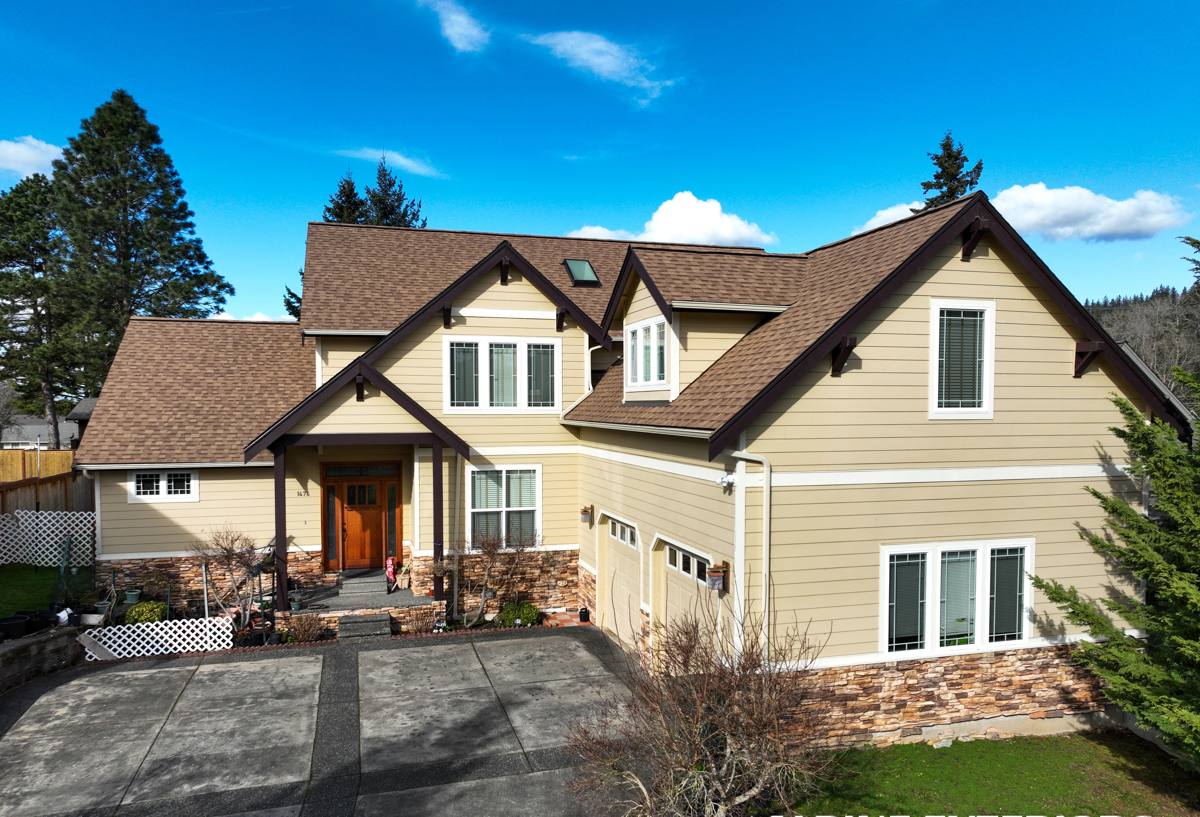
Why Local Climate Changes How This Job Should Be Done
Three things shape our approach to new-construction windows here, and they're not the same three things a contractor in eastern Washington or inland Oregon would be planning around.
Salt air and metal fatigue
Homes closer to the water deal with airborne salt that accelerates corrosion on unprotected fasteners, cheap window hardware, and exposed metal flashing. We spec corrosion-resistant fasteners and flashing components on builds in this area rather than treating it as an upgrade — it's a baseline decision, not an add-on.
Driving rain, not just rainfall totals
What matters for window performance isn't just how much rain falls here, it's how it arrives. Wind-driven rain pushes water sideways and upward into gaps that vertical rain would never reach. A flashing detail that would pass in a calmer climate can fail here specifically because of wind direction during storms. That's why our flashing laps and sill pan details are built assuming water will be pushed uphill against the opening, not just falling straight down onto it.
A long moss and mildew season
Extended damp periods mean organic growth gets a long runway on any surface that stays wet — including window sills, trim, and the caulk lines around a window. We choose sealants and finish details that shed water quickly and don't create the flat, slow-draining ledges where moss and mildew like to establish.
What "Correct" Actually Means on a New-Construction Window Install
A window that looks fine from the curb can still be installed wrong. The parts that matter most are the ones nobody sees once the siding and trim go on.
- A sloped sill pan under every window opening, so any water that gets past the window sheds outward instead of sitting on the sill or draining into the wall cavity.
- Flashing tape and building wrap integrated in the correct shingle-lap order — each layer overlapping the one below it, so water is always directed outward and down, never trapped behind a seam.
- Nailing fins fastened per the window manufacturer's schedule, not "close enough" — under-fastened fins are a common cause of air infiltration and water intrusion that shows up years later.
- Correct rough opening sizing, with proper shim and gap allowances so the window isn't racked or under stress, which affects both operation and the long-term seal.
- Interior and exterior sealant applied at the right points in the sequence — sealing the wrong layer, or sealing before flashing is complete, can trap moisture inside the wall instead of keeping it out.
- Weep paths and drainage gaps left clear, not accidentally caulked shut, so the window's own drainage system can actually function.
Every one of these steps takes a few extra minutes per window. Skipped, they don't cause a visible problem on install day — they cause a problem two or three winters later, after the flashing has already failed and moisture has been working on the framing the whole time.
Our Process for New-Construction Window Jobs in Sumas
1. Plan review and window schedule check
Before framing is closed in, we review the window schedule against the actual rough openings and confirm sizing, swing/operation type, and glazing package match the plans and the site's exposure. A window on a wall that takes direct wind-driven rain may warrant a different glazing or flashing detail than a sheltered wall on the same house.
2. Flashing and sill pan installation
This happens before the window ever goes in. Sill pans, flashing tape, and building wrap integration are done in the correct sequence so drainage works even if water gets past the window itself — which, over the life of any window, it eventually will.
3. Window setting and fastening
Windows are shimmed square and plumb, fastened per manufacturer spec, and checked for operation before the opening is closed up. A window that's slightly racked during install can bind, leak, or fail its seal well before its expected lifespan.
4. Exterior integration with siding and trim
Flashing has to hand off cleanly to whatever siding and trim material is going around the window. We coordinate this step so there's no gap in the water management plan between the window's flashing and the wall's — that seam is one of the most common failure points on new builds when window and siding trades don't communicate.
5. Final inspection and documentation
Before we consider a window done, we check operation, seal, and visible flashing lines, and we keep a record of what was installed where — useful if there's ever a warranty question down the line.
Choosing Window Products for This Climate
We don't push a single brand as the only option, because the right product depends on budget, style, and the specific exposure of each wall. What we do insist on is a window with a proven track record for water management in wet coastal climates, from a manufacturer that stands behind a real warranty — not just a low sticker price with vague coverage. Vinyl, fiberglass, and clad-wood windows all have a place depending on the project; the deciding factors are usually frame durability in damp conditions, how the manufacturer's installation instructions align with proper flashing practice, and long-term maintenance the homeowner is willing to take on.
Cost Factors on a New-Construction Window Job
| Factor | Why It Affects Cost |
|---|---|
| Window count and size mix | More openings and larger units mean more flashing detail work and material, not just more window units |
| Frame material | Vinyl, fiberglass, and clad-wood carry different material and labor costs |
| Wall exposure | Walls facing prevailing wind-driven rain may call for upgraded flashing details |
| Glazing package | Double vs. triple pane, and Low-E or gas-fill options, change unit price |
| Site access and timing | Coordinating window install with framing and siding schedules affects labor efficiency |
Why Hiring a Crew That Already Works Sumas Matters
New-construction window installation is a sequencing job as much as a hands-on-tools job. It has to happen at the right point relative to house wrap, flashing, and siding — too early or too late in that sequence and the water management plan for the whole wall assembly breaks down. A crew that regularly works this specific area already knows how local builders sequence their framing and siding trades, what inspection expectations look like locally, and which flashing details actually hold up against this area's wind-driven rain rather than just meeting a generic code minimum.
We also know what failure looks like here specifically — we've seen what happens when sill pans are skipped or flashing laps are reversed on homes exposed to salt air and long wet seasons. That's not knowledge you get from a install manual; it's knowledge you get from working this climate and seeing what holds up over years, not just at final walkthrough.
Signs a Prior Window Installation Was Done Wrong
If you're evaluating a build that's already underway, or a recently finished new-construction home, a few warning signs are worth checking before the walls are closed up or the warranty period runs out:
- No visible sloped sill pan under window openings during framing inspection
- Flashing tape applied in the wrong lap order (upper layers tucked under lower ones instead of over them)
- Caulk used as the primary water seal instead of proper flashing — caulk should supplement flashing, never replace it
- Gaps in flashing where it meets the house wrap or siding trim
- Windows that don't operate smoothly right after install, suggesting a racked or out-of-square setting
Get a Straight Answer on Your Sumas Window Job
Whether you're planning windows for a new build, an addition, or want a second opinion on work already framed in, we're happy to take a look and give you a straightforward assessment — no pressure, no sales script. Reach out for a free estimate and we'll walk through what your specific site and wall exposures call for.