 Birch Bay Siding
 Siding Built for an Island Climate
Lummi Island sits out in the water, which means every home on it deals with a version of Pacific Northwest weather that's a step harder on building materials than what you'd find a few miles inland. Salt-laden air off the water, driving rain that comes in sideways during winter storms, and a moss and algae season that runs most of the year all work on exterior siding constantly. Homes here don't get long dry stretches to recover between weather events, and that changes what "correct" siding installation actually means.
We install James Hardie fiber cement exclusively, and on a site like Lummi Island that's not a marketing point — it's the reason the material holds up. Fiber cement doesn't rot, doesn't feed mold and algae the way untreated wood-based products can, and doesn't degrade in salt air the way some coatings and substrates do over time. But the product is only half the equation. The installation has to be done to spec, with the right clearances, flashing, and fastening, or even the best siding on the market will fail early in a climate this demanding.
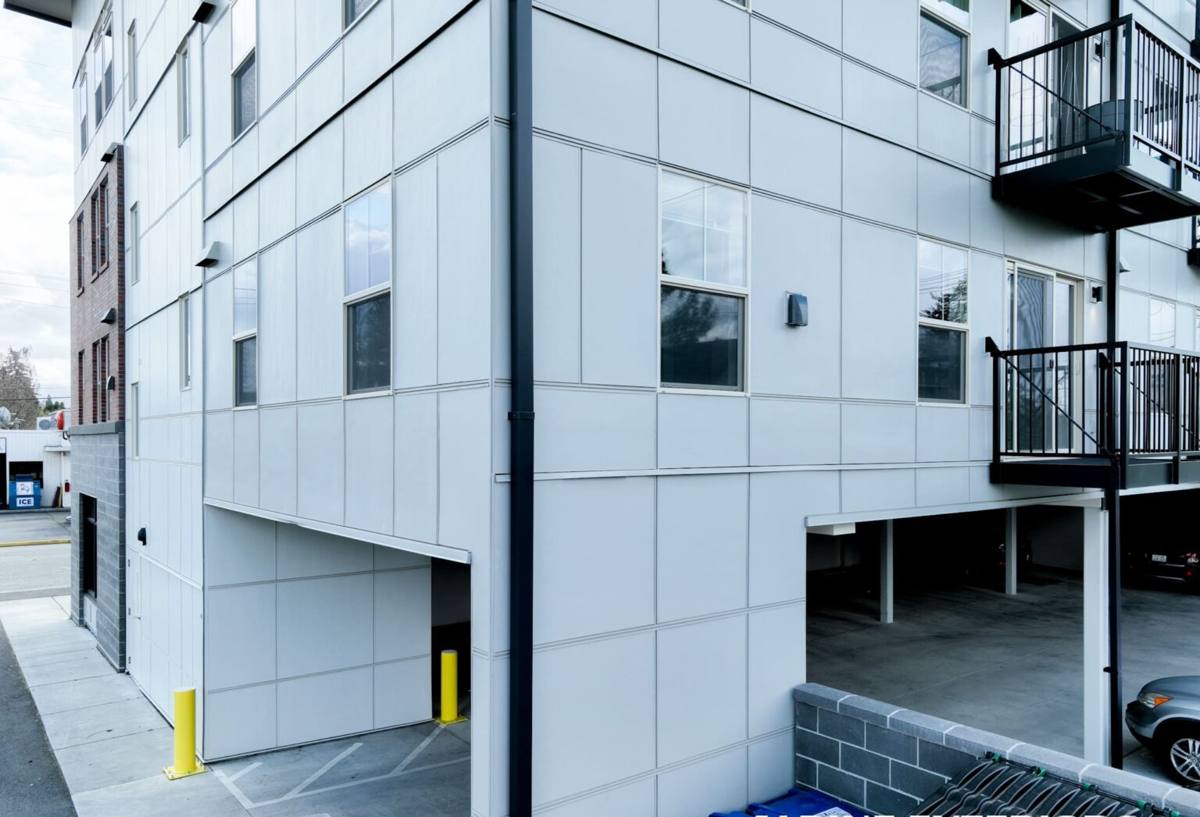
What Salt Air and Driving Rain Do to a Home's Exterior
Salt air is corrosive to exposed metal — fasteners, flashing, trim hardware — and it accelerates the breakdown of finishes that aren't engineered to resist it. Combine that with wind-driven rain that gets pushed up under laps and around openings instead of just running straight down, and you get two failure points that show up again and again on waterfront and near-waterfront homes: water intrusion behind the siding at poorly flashed penetrations, and premature corrosion of fasteners and trim that leads to staining and loosening over a few short years.
None of this is unique to Lummi Island — it's true anywhere along Whatcom County's shoreline, including Birch Bay itself — but island exposure tends to be more constant. There's less tree cover to break the wind in a lot of spots, and homes closer to the water get salt spray on a regular basis rather than only during storms.
Where Problems Actually Start
In our experience, siding failure almost never starts with the panel itself. It starts at the seams: window and door flashing, butt joints, corner trim, and the bottom starter course closest to grade or a deck. Get those details wrong and moisture finds its way behind the cladding no matter how good the material is.
What a Correct Installation Actually Involves
A proper siding job is a system, not just a set of boards nailed to a wall. Here's what has to happen in order, and why each step matters more on a site exposed to salt air and heavy rain.
Weather-Resistive Barrier and Flashing
Before any siding goes up, the wall needs a continuous weather-resistive barrier, properly lapped so water sheds down and out rather than working its way in. Every window, door, and penetration gets flashed so that water is directed out over the siding below it, not behind it. On a home taking regular wind-driven rain, this layer is doing more work than people realize — the siding sheds most of the water, but the barrier and flashing are what handle the water that gets past the surface.
Clearances and Drainage
James Hardie specifies minimum clearances from siding to grade, roofing, decks, and other horizontal surfaces for a reason: those gaps let water drain and air circulate instead of wicking up into the bottom edge of the board. Skipping or shrinking those clearances is one of the most common ways we see siding fail early, especially near patios, walkways, and low grading — all common on waterfront lots where the yard slopes toward the water.
Fastening and Field Cuts
Fasteners have to be corrosion-resistant and driven correctly — not overdriven, which cracks the fiber cement's outer seal, and not underdriven, which leaves movement and gaps. Every field cut exposes raw fiber cement edge, and those cut edges need to be sealed per manufacturer spec before installation, particularly at butt joints and around trim, so moisture can't wick into an exposed edge over years of salt spray and rain.
Why We Install Only James Hardie Fiber Cement Here
We get asked fairly often why we don't offer vinyl, LP SmartSide, or cedar as options. The honest answer is that we've standardized on one product because it's the one we're confident will still be doing its job in twenty or thirty years on a site like this, and we'd rather stand fully behind one system than split our expertise across several.
| Material | How It Handles Salt Air & Rain | Moss/Algae Resistance | Long-Term Maintenance |
|---|---|---|---|
| James Hardie fiber cement | Non-combustible, engineered HZ product lines for regional moisture exposure, factory ColorPlus finish resists fading and salt exposure | Factory finish and dense fiber-cement surface resist moss/algae growth better than porous wood-based products | Occasional wash-down; no repainting needed with ColorPlus for years per warranty terms |
| Vinyl siding | Can warp or become brittle with temperature swings; seams and panels can allow water behind the wall if not detailed well | Moss and algae can still colonize the surface, especially in shaded, damp areas | Low upkeep, but damaged panels are hard to color-match years later; not repairable in the way fiber cement is |
| LP SmartSide (wood-based) | Engineered to resist moisture better than raw wood, but any breach in the coating exposes wood-based substrate to rot risk over time | More susceptible to organic growth than fiber cement if finish is compromised | Coating and caulk joints need regular inspection, especially in constant-moisture climates |
| Cedar / primed spruce | Natural wood, absorbs moisture, needs a sound finish maintained at all times to resist rot in wet, salty conditions | Highest susceptibility to moss, algae, and mildew without frequent treatment | Requires ongoing refinishing/staining; highest long-term labor and cost to keep protected |
Vinyl and wood-based products aren't bad materials in every application — they have real strengths in the right setting. But on an island exposed to constant salt air and a long wet season, we've seen enough of them fail early, discolor, or need more upkeep than owners expected that we no longer install them. James Hardie's HZ climate-engineered lines are built specifically for regions like ours — moisture and moss exposure were part of the design brief, not an afterthought — and the ColorPlus factory finish is baked on under controlled conditions, which holds color and resists the kind of fading and staining that salt air causes to field-applied paint.
Moss and Algae: The Slow-Motion Problem
Moss doesn't destroy siding overnight — it works slowly, holding moisture against the surface and giving algae a foothold, which over years can degrade a finish that isn't built to resist it. On Lummi Island, the combination of marine humidity, shade from trees on wooded lots, and a wet season that runs long means siding rarely gets a real chance to dry out completely for months at a time.
James Hardie's factory finish is significantly more resistant to this than raw wood or a field-applied paint job, but no siding is maintenance-free. Keeping gutters clear so water isn't sheeting down the wall, trimming vegetation back from the siding so airflow and sunlight can reach it, and rinsing off buildup once or twice a year go a long way toward keeping a Hardie installation looking like new for its full service life.
Salt Air and the Small Metal Details
Homeowners tend to focus on the siding panels themselves, but the metal components — flashing, fasteners, corner trim, vents — are often the first things salt air attacks. We spec corrosion-resistant fasteners and flashing on every Lummi Island project, and we pay close attention to trim details around windows, doors, and roof lines, because that's where a cheap or mismatched component shows up as rust streaks and failure years before the siding itself would ever need attention.
Our Installation Process
Every project follows the same sequence, adjusted for the specifics of the home:
- Assessment — we look at existing siding condition, wall assembly, moisture history, and exposure (how much direct salt air and wind-driven rain the walls actually take).
- Tear-off and wall prep — remove old siding and trim, inspect and repair any sheathing or framing issues found underneath before covering them up again.
- Weather barrier and flashing — install a continuous, correctly lapped barrier and flash every window, door, and penetration.
- James Hardie installation — install panels or lap siding to manufacturer clearance and fastening spec, sealing all field-cut edges.
- Trim and finish work — corner trim, fascia, and detail work completed and sealed.
- Final walkthrough — inspect every seam, flashing point, and clearance before we call the job done.
Here's what we'd tell any homeowner to check, whether it's us or another crew doing the work:
- Is the weather-resistive barrier continuous and properly lapped, with no gaps at seams?
- Is every window and door individually flashed, not just caulked?
- Are manufacturer-specified clearances maintained from grade, roofing, and decks?
- Are fasteners corrosion-resistant and driven to the correct depth — not overdriven or underdriven?
- Are all field-cut edges sealed before installation?
- Is the crew installing to James Hardie's published fastening and clearance specs, not just "how it's always been done"?
Cost Factors on a Project Like This
Every home is different, so we won't quote numbers without seeing the site, but these are the factors that most often move a Lummi Island siding project up or down in cost:
| Factor | Why It Matters |
|---|---|
| Existing siding condition | Rot or moisture damage found during tear-off means sheathing or framing repair before new siding can go on |
| Home size and wall complexity | More corners, dormers, and trim detail means more labor and material cuts |
| Siding profile and finish choice | Lap siding, panel systems, and shingle-style profiles each have different material and labor requirements |
| Access and staging | Getting crews, equipment, and full loads of material to an island site takes more planning than a straightforward mainland delivery |
| Trim and flashing scope | Homes with more windows, doors, and roof intersections need more flashing and detail work per square foot |
Why Local Experience on Lummi Island Matters
An island job isn't the same as a job a few miles inland. Getting materials and crews staged and scheduled around water access takes planning that a mainland-only contractor may not be used to. Beyond logistics, a crew that has actually worked this specific stretch of coastline knows what exposure levels to expect on a given lot, which details tend to fail first in this climate, and how to build in the extra margin that salt air and driving rain demand — rather than installing to a generic spec and hoping it holds up.
We work throughout Birch Bay and the surrounding Whatcom County coastline, including island and waterfront properties, and we bring the same James Hardie installation standard to every one of them.
Caring for Hardie Siding After Installation
One of the advantages of switching to fiber cement is how little ongoing maintenance it actually needs compared to wood-based or vinyl alternatives. A rinse-down once or twice a year to clear salt residue and organic buildup, keeping gutters and downspouts clear so water isn't running down the wall face, and an occasional visual check of caulking and trim joints is generally all it takes to keep a correctly installed Hardie exterior performing for decades.
If you're weighing a siding replacement on Lummi Island or elsewhere along the Birch Bay coastline, we're happy to take a look at your home, walk you through what we're seeing, and put together a free, no-pressure estimate — no obligation, just a straight answer on what your home actually needs.