 Birch Bay Siding
 New-Construction Windows Are a Different Job Than Replacement Windows
When a house is going up in Semiahmoo or elsewhere in Birch Bay, the windows go in before the siding, before the interior finishes, and often before the home even has permanent power. That timing changes everything about how the job needs to be done. A replacement window has to work around an existing wall. A new-construction window is installed into a rough opening that a framing crew built, tied directly into the weather-resistive barrier (WRB) that wraps the whole house, and then buried behind siding for the next few decades. Whatever gets done right or wrong at this stage stays hidden until there's a leak, a stuck sash, or a rot problem showing up in a wall cavity years later.
Rough Openings and Framing Tolerances
Framers build to a tolerance that's fine for a stud wall but not always tight enough for a window to sit plumb, level, and square without shimming. Before we ever set a window, we check each rough opening against the actual window unit's specified dimensions — not just the plan set. Openings that are out of square get corrected before the window goes in, because forcing a window into an out-of-square opening stresses the frame, binds the sash, and creates uneven gaps that are hard to seal consistently.
Sequencing With the Builder's Schedule
New-construction window installation has to land at the right point in the build: after the WRB is on and taped, but before siding starts. Show up too early and there's nothing to flash into. Show up too late and you're cutting into finished work. On a Birch Bay or Semiahmoo job site, weather windows matter too — we try to get windows in and flashed on a dry stretch whenever the schedule allows, since wet lumber and wet house wrap make for a sloppier, less reliable seal.
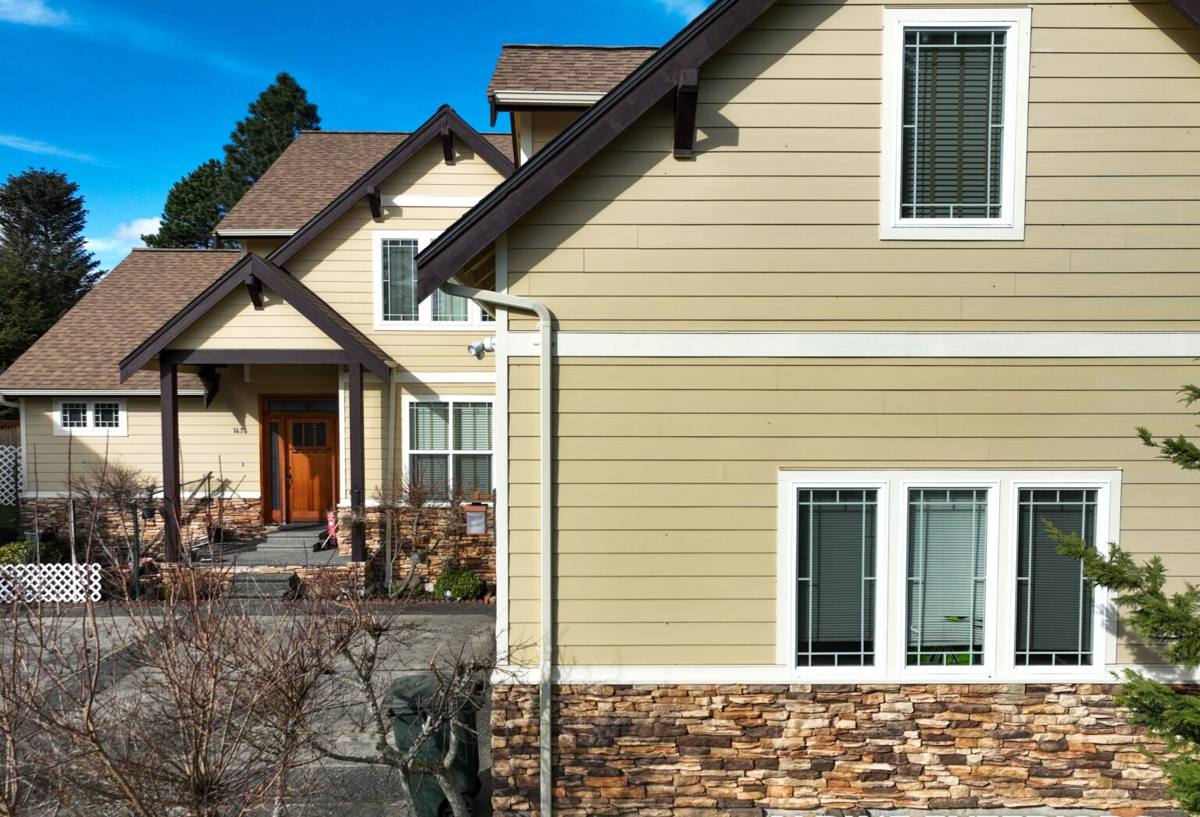
What This Climate Actually Does to a Window Installation
Birch Bay and the Semiahmoo area sit right on the water, and that proximity brings three things that inland Whatcom County builds don't deal with nearly as much: salt-laden air, wind-driven rain, and a long stretch of damp months that keeps exterior surfaces wet far more often than dry.
Salt Air and Hardware
Salt in the air accelerates corrosion on anything metal — fasteners, cranks, hinges, and cladding-to-frame connectors. Standard-grade hardware that would hold up fine forty miles inland can start showing pitting or staining within a few years on a waterfront-facing elevation here. We pay attention to fastener and hardware specification on exposed elevations, not just for the window unit itself but for the flashing tape, clips, and screws that hold everything together.
Wind-Driven Rain and Water Load
Storms off the water don't just drop rain straight down — they push it sideways, and a window that's only designed to shed vertical rainfall will take on water at the sill and jambs during a real blow. That's a water load problem, not a cosmetic one, and it's the single biggest reason a new-construction window needs proper flashing detailing rather than sealant alone.
The Long Damp and Moss Season
Whatcom County's gray season runs long, and shaded or north-facing elevations stay damp for weeks at a stretch. That's exactly the condition moss and algae need to take hold on sills, trim, and the tops of window heads. Moss itself doesn't destroy a window, but it holds moisture against wood trim and sealant joints far longer than they'd otherwise sit wet, which shortens the useful life of caulking and any exposed wood components. Detailing that sheds water quickly, with clean drip edges and no flat horizontal ledges for debris to collect on, matters more here than in a drier climate.
Water Management Is the Part That Actually Matters
Every window installation eventually takes on some water at the sill, jamb, or head — through condensation, wind-driven rain, or minor seal imperfections that develop over time. The question isn't whether water ever reaches that opening; it's whether the assembly is built to drain it back out before it reaches the framing. That's the whole point of sill pan flashing, back dams, and a properly lapped WRB integration. Sealant is the last line of defense, not the first, and we don't rely on a bead of caulk to do a job that flashing and drainage should be doing.
| Approach | How it handles water | Risk in this climate | Our standard |
|---|---|---|---|
| Face-sealed only (sealant-dependent) | Relies on an unbroken sealant bead at the frame perimeter | Any sealant failure sends water straight into the framing, with no backup drainage path | Not used on new construction |
| Sill pan with back dam, lapped WRB | Sheds bulk water out and away even if the seal isn't perfect | Low — built-in redundancy handles wind-driven rain and minor gaps | Standard on every new-construction install |
| Head flashing over WRB | Directs water running down the wall over, not behind, the window head | Low when properly lapped shingle-style; high if reversed or omitted | Required on all elevations, not just exposed ones |
Choosing the Right Window for a Semiahmoo New Build
Frame material matters more here than in a drier, inland climate, because the window will spend a large share of the year sitting in damp air. There isn't one right answer for every project — it comes down to budget, the home's exposure, and how much upkeep the owner wants to take on.
| Frame Material | Upfront Cost | Moisture Tolerance | Maintenance Here |
|---|---|---|---|
| Vinyl | Lowest | Good — won't rot, but seals and hardware still need attention over time | Low; occasional cleaning and hardware checks |
| Fiberglass | Mid to higher | Very good — dimensionally stable in wet/dry cycling, holds paint well if factory finish fades | Low |
| Wood-clad | Highest | Good on the exterior clad face; interior wood needs a sound seal to avoid moisture exposure | Higher — cladding seams and any exposed wood need periodic inspection |
On waterfront-facing elevations in Semiahmoo, we lean toward frame and glazing options with good sustained performance under wind-driven rain rather than the cheapest unit that meets minimum code. On more sheltered, inland-facing walls in Birch Bay, there's more flexibility to prioritize budget without giving up long-term performance.
Meeting Code and Performance Requirements
New-construction windows in Whatcom County have to meet the current Washington State Energy Code for U-factor and, depending on the building's climate zone designation, solar heat gain requirements as well. Bedroom windows also have to meet egress sizing — minimum clear opening width, height, and sill height above the floor — which has to be confirmed against the actual unit ordered, not just the rough opening size on the plans. On coastal lots with real wind exposure, we also look at the window's design pressure rating relative to the site's exposure category, since a unit rated for a sheltered inland lot isn't automatically adequate for an open waterfront elevation. All of this gets checked before the window order is placed, not after it shows up on site.
How We Handle a New-Construction Window Install
- Verify every rough opening against the ordered window's actual dimensions before delivery.
- Confirm window specifications with the builder and, where applicable, the architect — species of glazing, tempered glass locations, egress compliance, and design pressure rating.
- Integrate sill pan flashing and back dam before the window ever goes into the opening.
- Set the unit plumb, level, and square, shimming at manufacturer-specified points without blocking weep holes or drainage paths.
- Flash the jambs and head in the correct shingle-lap sequence, tying cleanly into the WRB.
- Fasten per the manufacturer's schedule, which accounts for the design pressure rating the unit is expected to hold up to.
- Seal the interior and exterior per manufacturer specification — as a backup to the flashing, not a substitute for it.
- Photograph flashing details before siding closes the wall in, so there's a record of what's behind the finish.
Coordinating With Your Builder, Siding Crew, and Painter
Window installation on a new build doesn't happen in isolation. The framer's tolerances, the WRB installer's tape job, the siding crew's trim details, and the painter's caulk-and-paint sequence all touch the same opening. We communicate directly with whoever's running the schedule so the WRB is ready when we arrive, the flashing we install lines up with how the siding crew plans to trim out the opening, and nothing gets sealed over or covered before it's been checked. On a Birch Bay or Semiahmoo build, we've found it's worth flagging drainage plane continuity issues before siding starts, since fixing a flashing lap after the siding's up costs far more time than catching it beforehand.
Checklist Before the Walls Get Closed In
- Sill pan and back dam are installed and visible in photos before siding starts
- Head flashing laps over the WRB above it — never tucked underneath, which reverses the drainage path
- Weep holes and drainage channels are clear of shims, insulation, or debris
- Fasteners at exposed or waterfront elevations meet corrosion-resistance expectations for this environment
- Egress-required bedroom windows meet minimum clear opening dimensions as installed, not just as specified
- Sealant beads are continuous with no gaps at corners or where trim meets the frame
- Rough opening gaps are insulated per manufacturer guidance — not overpacked, which can bow the frame
Why It Matters to Hire a Crew That Already Works This Area
A waterfront lot in Semiahmoo and a more sheltered inland lot in Birch Bay can call for different decisions on window selection and flashing detail, even though they're only a few miles apart — exposure to wind and driving rain varies a lot across this stretch of Whatcom County's coastline. A crew that's installed windows across both settings knows which elevations need extra attention and which details actually get tested by a real winter storm here, rather than just meeting a code minimum on paper. That local track record also means fewer surprises coordinating with builders and inspectors who are used to working this coastline.
If you're building new in Semiahmoo or Birch Bay and want windows installed the right way the first time, we're glad to walk the plans with you and give you a straightforward, no-pressure estimate — just fill out the form below.