 Birch Bay Siding
 Building New in Point Whitehorn: What "New-Construction Windows" Actually Means
There's a real difference between a "replacement window" and a "new-construction window," and it matters more than most homeowners realize until something goes wrong. A replacement window is built to slide into an existing opening — the old frame stays in the wall, and the new unit is sized to fit inside it. A new-construction window is different: it has a nailing flange around the perimeter that gets fastened directly to the framing and integrated into the wall's water-resistive barrier before siding ever goes on. That's the type used when a home in Point Whitehorn is being built from the ground up, or when a room addition opens up new stud bays.
The reason this distinction matters is timing. A new-construction window only gets installed correctly once — during framing, before the weather-resistive barrier (WRB) and siding close everything in. If the flashing sequence is done wrong at this stage, you don't find out until years later when water shows up somewhere it shouldn't, and by then it means cutting into finished siding and trim to fix it. Getting it right the first time, while the wall is still open, is the whole game.
Why Point Whitehorn's Exposure Changes the Job
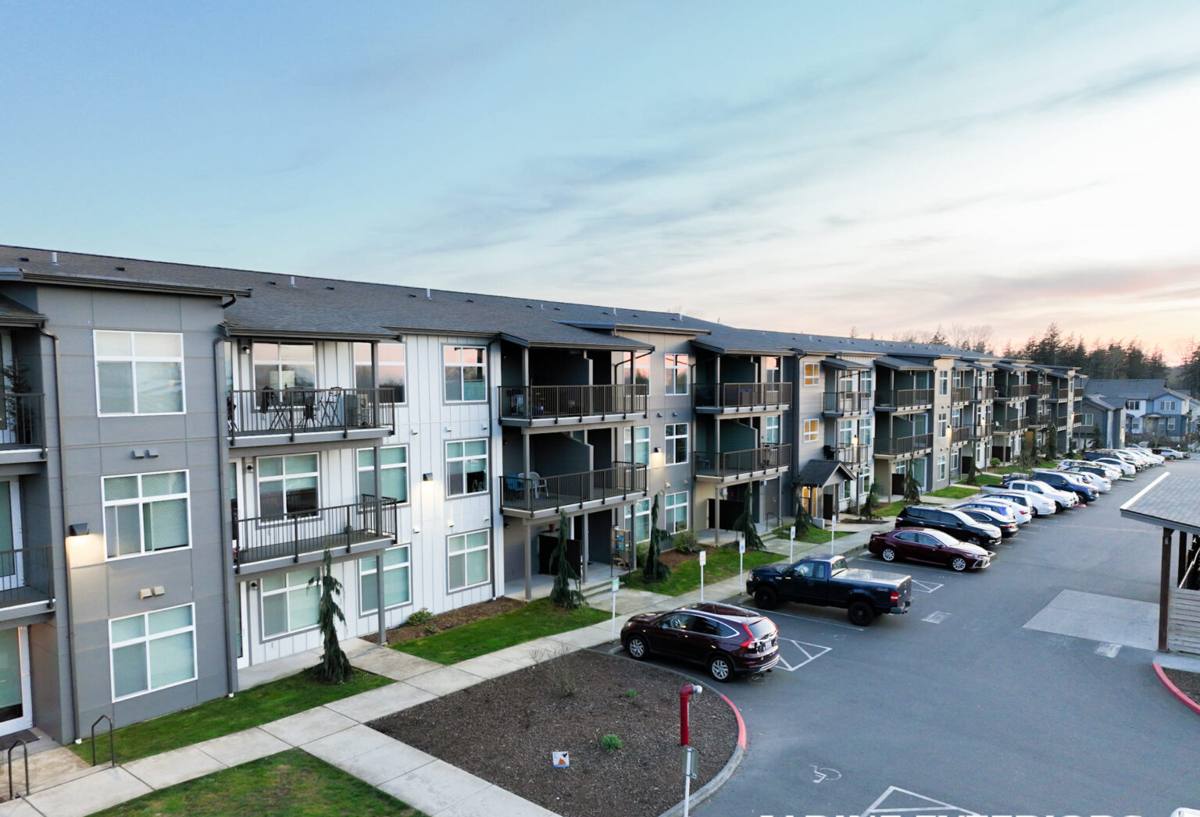
Point Whitehorn sits along open shoreline north of Birch Bay, with a straight shot of wind and weather off the water. That combination of salt air, driving rain, and Whatcom County's long wet season isn't the same environment as an inland lot a few miles away, and it changes how a window install should be detailed. Salt-laden air accelerates corrosion on unprotected metal — fasteners, hinges, cranks, and screen hardware — faster than it would a few miles inland. Wind-driven rain doesn't just fall on a window, it gets pushed sideways and upward into every seam and lap joint, which means the water-management details around the window have to actually work, not just look finished.
Then there's the long moss and algae season that comes with our Pacific Northwest wet months. It doesn't just affect roofs — sills, trim boards, and the bottom edges of window openings that don't shed water cleanly stay damp for months at a time, and that's exactly the environment moss, algae, and eventually rot need to take hold. A window detail that would be perfectly fine in a drier inland climate can be a slow-motion problem on a shoreline lot like this one.
The Water-Management Sequence That Actually Matters
A correctly installed new-construction window works like shingles on a roof: every layer overlaps the one below it so water is always shed outward and downward, never trapped behind a layer or channeled into the wall. The sequence, roughly, looks like this:
- Sloped sill pan first. The rough opening gets a sill pan flashing that slopes slightly to the exterior, so any water that does get past the window has somewhere to go besides into the wall cavity.
- Jamb flashing next, lapped over the sill pan. Self-adhered flashing tape at the sides overlaps the sill pan's upturned edges — never the other way around.
- Window set, then head flashing or a drip cap over the top, lapped so it sheds water out over the jamb flashing below it.
- WRB integration tying it all together, with the housewrap lapped over the head flashing and under the sill pan, maintaining that same shingle-lap logic all the way up the wall.
Sealant and caulk have a role in this sequence, but it's a backup role, not the primary defense. A window that's "face-sealed" — meaning it's caulked around the outside and relies on that bead to keep water out — is gambling on a material that shrinks, cracks, and loses adhesion over time, particularly with the UV exposure and temperature swings this area sees. In a driving-rain, wind-exposed location like Point Whitehorn, that's the wrong thing to bet a wall assembly on. The flashing has to do the actual work; sealant just backs it up.
Choosing a Frame Material for Salt Air and Wind
Frame material is a real decision on a shoreline lot, not just an aesthetic one. Each option below performs differently once salt air and sustained moisture enter the picture, and the trade-offs are worth understanding before a builder locks in a spec.
| Frame Material | Salt Air / Corrosion Behavior | Maintenance | Typical Cost Tier |
|---|---|---|---|
| Vinyl | Doesn't corrode; hardware inside the frame is the main concern over time | Low — occasional cleaning | Lower |
| Fiberglass | Very stable; resists corrosion and moves less with temperature swings than vinyl | Low | Mid to upper |
| Aluminum-clad wood | Attractive, but the metal cladding and its finish need to be maintained to prevent pitting near salt air | Higher — finish and seals need periodic attention | Upper |
| Vinyl-clad wood | Cladding resists corrosion well; wood core still needs the cladding's seals to stay intact | Moderate | Mid to upper |
None of these are wrong choices — they're trade-offs. Vinyl and fiberglass are generally the lower-maintenance path in a salt-air environment because there's no painted metal finish to protect. Clad-wood products can look great and perform well, but they ask more of the homeowner (or the contractor doing periodic maintenance) to keep seals and finishes intact where the marine air is hardest on them. We'll walk through this with you honestly rather than push whatever's easiest to sell.
Fasteners and Hardware Deserve the Same Thought
It's easy to spec a good window and undercut it with the wrong fasteners. Standard steel screws and nails will show rust streaks on stucco, trim, and siding within a couple of wet seasons this close to the water. Corrosion-resistant fasteners cost a little more and are a small line item next to the window itself, but they're the difference between trim that still looks clean in ten years and trim that's already staining by year three.
Window Style Matters as Much as Material
The operating style of a window changes how well it resists wind-driven rain, and it's worth deciding early with your builder rather than defaulting to whatever's already in the plans. Casement windows — the crank-out kind — compress against the frame with a lever mechanism when closed, which generally gives a tighter, more positive seal against wind pushing on the glass. Sliders and double-hung windows rely on interlocking rails and weatherstripping instead, which can perform perfectly well but put more importance on getting that meeting-rail detail right, especially on elevations facing directly into prevailing weather off the water. Neither style is off the table for a Point Whitehorn build — it's about matching the style, and the detailing around it, to which wall it's going on.
Meeting Whatcom County Code and Energy Requirements
New-construction windows in Whatcom County need to satisfy a handful of code requirements beyond just fitting the opening: current Washington State Energy Code performance targets for the climate zone, egress sizing for bedroom windows, and safety (tempered) glazing in locations near doors, low to the floor, or in wet areas like bathrooms. None of this is exotic, but it does need to be accounted for during product selection, not discovered after the windows are already ordered.
Inspections are part of the sequence too. Most jurisdictions want a look at the flashing and WRB integration before siding goes on — this is usually the last chance for anyone to catch a bad detail before it's covered up permanently. We coordinate that timing with the builder's schedule so the wall isn't closed in before the flashing inspection happens.
Our New-Construction Process for Point Whitehorn Builds
The process looks a little different depending on whether we're working directly with a homeowner building on their own lot or as the window sub on a builder's crew, but the core steps stay the same:
- Plan review. We look at rough opening sizes, elevations facing open water or prevailing wind, and flag anything that should shift before framing locks it in.
- Product selection. Frame material, glass package, and operating style get matched to each elevation's actual exposure — not a single blanket spec for the whole house.
- Ordering to the framed openings. We verify actual rough openings before placing the order, so units arrive sized correctly instead of forcing field modifications that compromise the flashing plane.
- Install during the framing window, once the wall is ready for the sill pan, jamb flashing, and WRB integration described above — ideally during a dry weather stretch.
- Flashing inspection coordination with the builder and, where required, the county inspector, before siding closes the wall.
- Final check after siding and trim go on, confirming the exterior casing and any counter-flashing terminate correctly against the cladding.
What a Correct Install Includes — A Practical Checklist
Whether you're a homeowner overseeing your own build or just want to know what to ask your general contractor, here's what should be true of every new-construction window installed on a Point Whitehorn home:
- Sloped sill pan flashing installed before the window ever goes in
- Flashing tape lapped in proper shingle sequence — sill, then jambs, then head
- WRB (housewrap) integrated over the head flashing and under the sill pan, not just taped around the outside afterward
- Corrosion-resistant fasteners used throughout, not standard steel
- Rough opening sized to the manufacturer's tolerance — not forced or shimmed excessively
- Insulation in the gap between frame and framing without over-compressing the frame
- Sealant used as a backup layer, never as the sole line of defense against wind-driven rain
- Flashing visible and inspectable before siding closes the wall
Why a Birch Bay Local Crew Matters for a Point Whitehorn Build
Anyone can install a window on a calm, dry day. What separates a good outcome on a shoreline lot in Point Whitehorn is a crew that's used to reading which elevations take the brunt of the weather, working within a dry stretch to get flashing done right, and already knowing how local builders and the county inspection process work. We're based here in Birch Bay — this is the wind, the rain, and the moss season we build against every week, not an occasional job site. That local familiarity is what keeps a new-construction window install from becoming a callback three winters later.
If you're planning a new build or addition in Point Whitehorn and want windows installed the right way the first time, we're happy to walk the plans with you or your builder and give you a straightforward, no-pressure estimate. There's a form below — reach out and we'll get back to you.