 Birch Bay Siding
 Why New-Construction Windows Are a Different Job
Installing windows into a new build is not the same trade as swapping out an old window in a finished wall. On a new-construction project, the window goes in before the siding does, while the wall is still just studs, sheathing, and a weather-resistive barrier (WRB). The window's nailing flange gets integrated directly into that barrier, in a specific shingle-lap sequence, so that water hitting the wall is shed downward and outward no matter how hard the rain is coming. Get that sequence wrong and you won't see the problem for a year or two — by then it's hidden behind trim and siding, and the damage is inside the wall cavity.
For a Lynden build, that sequencing matters more than in a lot of places. Whatcom County's weather is wet for a large share of the year, and a new home's window openings are exposed to the elements for weeks or months before siding closes them in. A correct install has to hold up during that construction-phase exposure, not just after the house is finished.
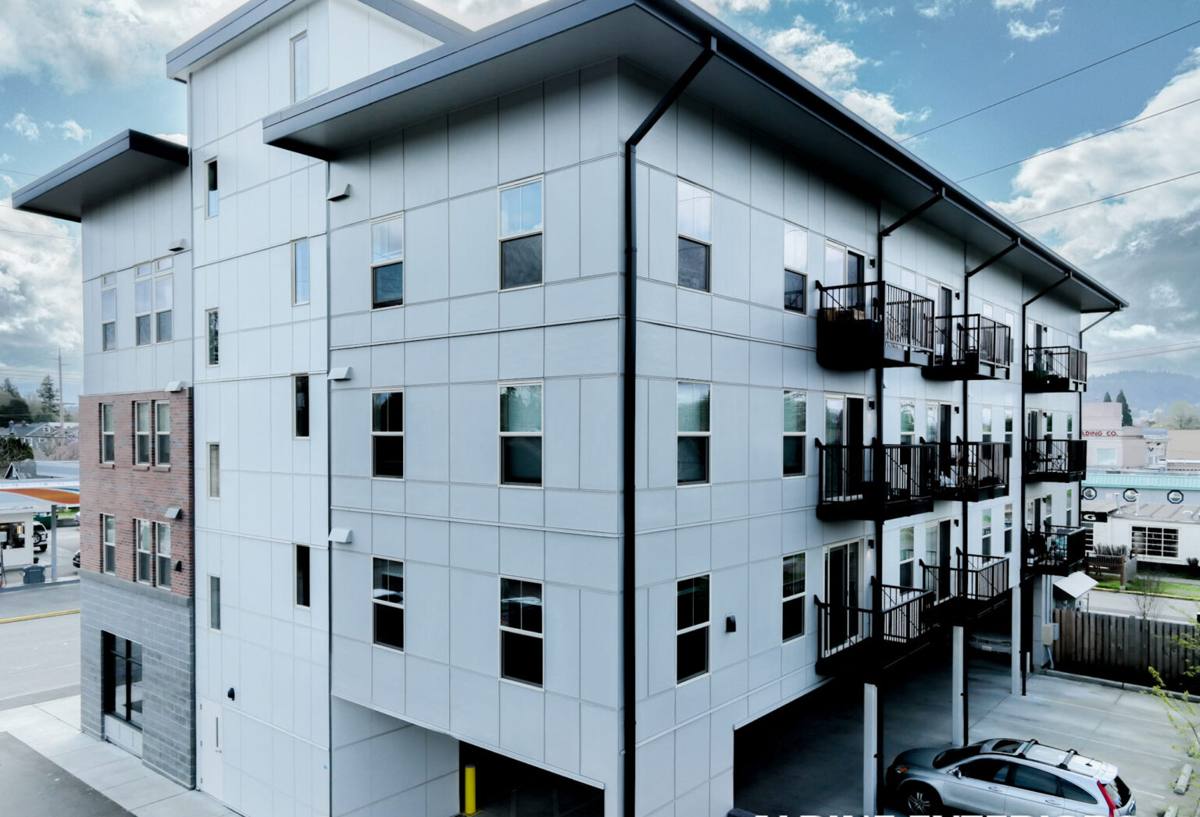
What Lynden's Climate Actually Demands From a Window Install
Lynden sits inland from the coast, so it doesn't take the direct salt spray a Birch Bay waterfront property does, but it's still squarely in Whatcom County's marine-influenced weather pattern. That means three things a new-construction window install has to account for:
Driving rain, not just rain
Storms coming off the Strait of Georgia and the Sound bring wind-driven rain that hits walls at an angle, not straight down. A window flashing detail that only handles vertical water — no sill pan, a head flashing that isn't lapped correctly over the WRB — will let wind-driven rain track sideways and up under the flange. That's the failure mode we design against on every opening.
A long moss and damp season
Whatcom County's fall-through-spring stretch keeps exterior surfaces damp for extended periods, especially on north- and west-facing walls or anywhere there's tree cover, which is common around Lynden's larger rural lots. Damp framing around a window opening that isn't properly flashed and drained stays wet longer than it should, which is exactly the condition that grows mold and invites rot in sheathing and sill framing.
Airborne moisture and corrosion, even away from the shoreline
Even at Lynden's distance from open water, the region's air carries more moisture and salt content than an inland/dry climate would. It's a smaller factor here than it is right on Birch Bay's shoreline, but it's still enough reason to use corrosion-resistant fasteners and hardware on every window rather than cutting that corner because the site isn't beachfront.
What a Correct New-Construction Window Install Involves
The window unit itself is only part of the job. The flashing and sequencing around it are what actually keep water out, and they follow a specific order:
- Rough opening is checked against the window's actual dimensions before anything is installed — not assumed from the plans.
- A sill pan flashing is installed at the base of the opening, sloped or dammed so any water that gets past the window drains back outward, not into the wall.
- The WRB is cut and prepped around the opening so it can be shingle-lapped correctly once the window is set.
- The window is set into the opening, leveled, plumbed, and fastened through the nailing flange per the manufacturer's schedule.
- Jamb flashing goes over the side flanges, then head flashing goes over the top flange, each one lapping the piece below it — never the reverse.
- The WRB above the window laps back down over the head flashing, closing the drainage plane so water sheds down and over the window, not behind it.
- Sealant is used only where the manufacturer specifies it — sealing every flange edge with no drainage path traps water instead of shedding it.
That order isn't arbitrary — each layer has to shed water onto the layer below it, all the way down the wall. A single step done out of sequence can undo the whole system, even if every individual material used was correct.
Choosing a Window Material for New Construction
Material choice matters more on new construction than on a replacement, because whatever goes in now is what the homeowner lives with for decades before it's practical to change. For Whatcom County's climate, the honest trade-offs look like this:
| Material | Moisture/Rot Resistance | Maintenance | Typical Cost Tier |
|---|---|---|---|
| Vinyl | Very good — won't rot, doesn't corrode | Low; occasional cleaning | Lower |
| Fiberglass | Excellent — very stable in wet/cold swings | Low | Mid to higher |
| Wood-clad | Good on the exterior clad face; interior wood needs the clad seal intact | Higher — clad seams and any exposed wood need attention | Higher |
| Aluminum | Corrodes over time in marine air unless well-finished | Moderate | Varies |
We don't push any one material as the only right answer — the right choice depends on budget, the home's design, and how much upkeep the owner wants to sign up for. What we do insist on is that whatever material is chosen, it carries a glazing package rated for this climate and is installed with the flashing sequence above, because material quality doesn't compensate for a bad install.
Energy Performance and Code Requirements
Washington's State Energy Code sets minimum window performance for new construction, and Whatcom County falls in the state's marine climate zone, which calls for a stronger U-factor (a measure of how much heat the window lets escape) than warmer parts of the state require. On a new build, this isn't optional — it gets checked at permit and inspection.
Beyond the code minimum, a few performance details are worth understanding when you're picking windows for a Lynden home:
- U-factor — lower is better for heat retention; this is the main number the energy code cares about.
- SHGC (solar heat gain coefficient) — matters more on south- and west-facing glass, where you may want to control solar gain rather than maximize it.
- Low-E coatings — improve performance without changing how clear the glass looks; standard on most quality new-construction windows now.
- Gas fill (argon) — adds a small but real improvement to insulating value between panes.
- NFRC label — the sticker on the glass with the actual tested numbers; this is what a code inspector or energy consultant will check, not the marketing brochure.
How We Handle a New-Construction Job in Lynden
On a new build, timing is everything, and windows sit on the critical path between framing and dry-in. Here's how that typically runs when we're on the job:
Before the windows arrive
We review the window schedule against the framed rough openings while the framing is still open to fix — not after drywall or siding has started. Any opening that's out of square or the wrong size gets caught here, while it's cheap to correct.
During install
Each opening gets the full flashing sequence described above, done the same way on every unit rather than varying by whoever's on the crew that day. Because we also do the siding on many of these homes, we control both sides of that WRB-to-siding handoff ourselves instead of hoping the next trade finishes what we started correctly.
Before siding closes the wall
We walk every opening one more time before the WRB and flashing get covered by siding. This is the last point anyone can see the flashing work directly, and it's the point where a mistake is still a five-minute fix instead of a tear-out.
Mistakes We See on New Builds — and Build Our Process to Avoid
None of these are exotic failures — they're the ordinary shortcuts that cause callbacks two or three years down the road:
- No sill pan flashing, relying on caulk alone to keep water out of the sill
- Flashing lapped in the wrong order, so a layer meant to shed water actually directs it inward
- Fasteners that aren't corrosion-resistant, left to rust and stain the siding around the opening
- Window ordered with a performance package that doesn't meet the state energy code for this climate zone, caught late at inspection
- Rough openings framed slightly out of square, forcing the window to be racked to fit — which stresses the frame and the seal
- Sealant applied over a drainage gap that was supposed to stay open, trapping moisture instead of letting it escape
Working Alongside Your Builder and Other Trades
New-construction windows sit at a handoff point between the framer, the siding crew, and often a general contractor coordinating the whole schedule. We're used to working inside that sequence rather than around it — showing up when the wall is dried in and ready, communicating with the builder if a rough opening needs attention before we can set a window, and documenting what we installed and how it was flashed for the builder's records and the manufacturer's warranty. On a lot of Lynden builds we handle the siding as well, which removes one coordination gap entirely, since the same crew controls the window flashing and the siding that laps over it.
Why a Crew That Already Works in Lynden Is Worth It
Whatcom County's permitting and inspection process, the local building department's expectations, and the realities of scheduling around this region's wet stretches all get easier to manage the more familiar you are with them. A crew that's already done this work in and around Lynden knows what inspectors here are checking for, has working relationships with local suppliers if a unit shows up damaged or the wrong size, and understands how to sequence a job around the area's rain windows rather than fighting them. That familiarity shows up as fewer surprises and fewer delays on your build — not as anything flashy, just steady, correct work done the same way every time.
If you're framing a new home in Lynden or planning one, we're happy to walk through your window schedule and give you a straightforward, no-pressure estimate — use the form below to get in touch.