 Birch Bay Siding
 Building New on Lummi Island? Your Windows Need to Match the Site
Putting new-construction windows into a home going up on Lummi Island is a different job than swapping windows into an existing house. There's no old frame to work around, no compromises forced by what's already in the wall — but there's also no room for error, because the window opening, the flashing, and the siding or trim around it are all being built at the same time. Get the sequence wrong and you bake a leak path into a brand-new house. Get it right, and that window will handle decades of Whatcom County weather without a callback.
We install new-construction windows for homes in and around Birch Bay and the surrounding Whatcom County waterfront, including Lummi Island properties, where the exposure is a step up from inland builds. Salt-laden air off the water, driving rain that comes in sideways during winter storms, and a moss season that seems to run longer every year all put extra demands on window materials, sealants, and flashing details. New construction is the best possible time to build a window system that's actually designed for that.
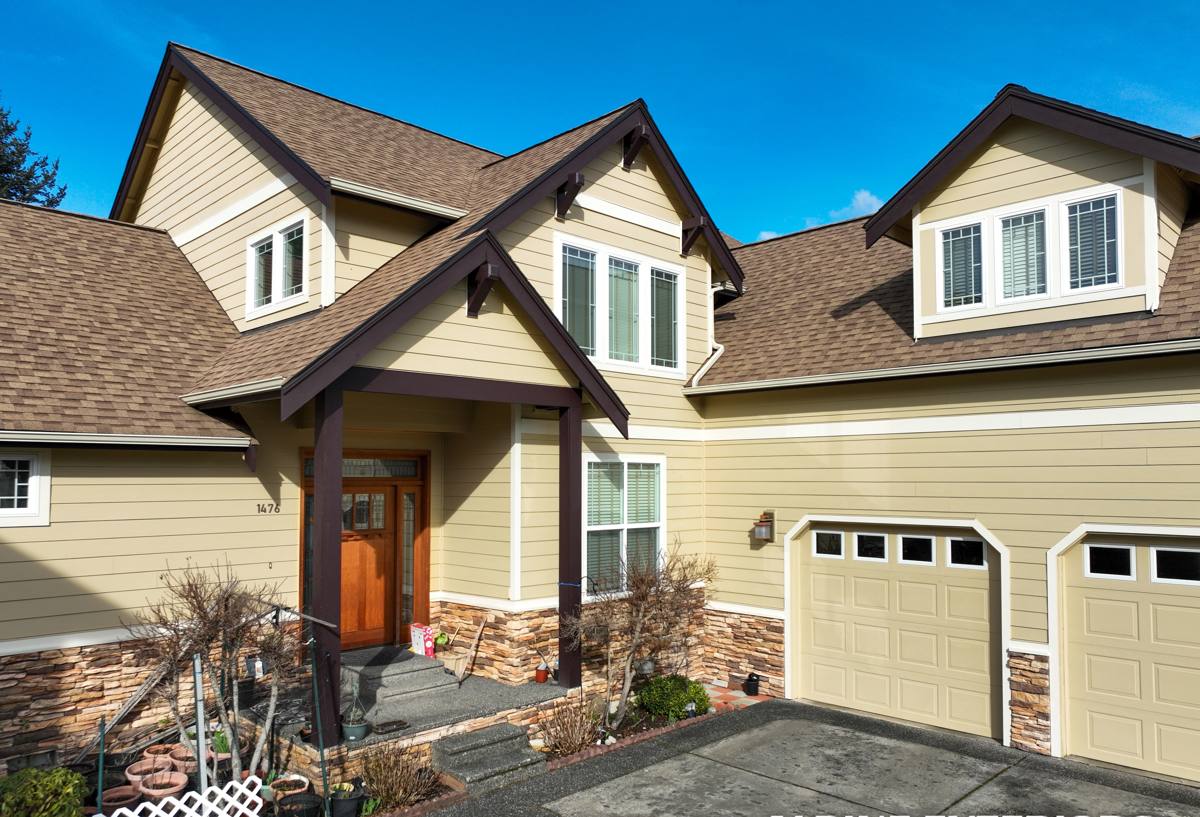
What Lummi Island's Climate Actually Does to Windows
Salt Air
Homes near the water pick up airborne salt that settles on every exterior surface, including window frames, hardware, and fasteners. Over time, salt exposure accelerates corrosion on unprotected metal components — screws, hinges, cranks, and cladding fasteners — and can dull or pit finishes that aren't rated for coastal exposure. This isn't unique to Lummi Island, but waterfront and near-waterfront lots in this part of Whatcom County get more of it than a build a few miles inland.
Driving Rain
Wind-driven rain doesn't just fall on a window — it pushes against it, and it finds any gap in the flashing or sealant that a calm-weather rain never would. New-construction windows have an advantage here because the flashing gets integrated into the wall's water-resistive barrier before siding goes on, but only if the crew installing the window actually follows a proper flashing sequence instead of just caulking the perimeter and moving on.
Moss and Sustained Moisture
A long, wet moss season means more months where wood trim, sills, and any organic material around a window stays damp. That moisture doesn't just grow moss on the roof — it keeps humidity elevated right at the window opening, which is exactly where you don't want slow-drying materials or trapped water.
What "Doing It Right" Means on a New-Construction Opening
A correct new-construction window install is really about three things happening in the right order: the rough opening, the flashing, and the window itself. Skipping steps or doing them out of sequence is how brand-new homes end up with hidden water damage within a few years.
- Rough opening prep. The opening is checked for square, level, and correct size before anything else happens. A window that's forced into an out-of-square opening will bind, won't seal evenly, and can fail early.
- Sill pan flashing. A sloped, sealed sill pan goes in first, so any water that ever gets past the window has a built-in path back out instead of soaking into the framing.
- Water-resistive barrier integration. House wrap or building paper gets lapped and taped in the correct shingle-style order — every layer overlapping the one below it — so water is directed down and out, not funneled behind the wrap.
- Window setting and fastening. The window is set plumb, level, and square, then fastened per the manufacturer's schedule — not just wherever seems convenient.
- Head flashing and side flashing. Flashing tape covers the nailing fin on the sides and top, integrated with the WRB above it.
- Sealant at the right joints only. Sealant goes where it belongs — typically the interior side and specific exterior joints — never as a substitute for proper flashing.
- Siding and trim tie-in. Whatever siding or trim goes around the window is installed with the correct clearances and drainage gaps, not tight-caulked against the frame in a way that traps water.
Every one of those steps matters more on a coastal or waterfront lot, because the margin for error against driving rain and salt air is smaller than it is on a sheltered inland site.
Choosing Window Materials for This Environment
New construction gives you a real choice of frame material, and that choice matters more here than it would on a build away from the water. There's no single "best" material for every project — it depends on budget, maintenance tolerance, and how exposed the specific lot is.
| Frame Material | Salt Air Behavior | Maintenance | Typical Trade-Off |
|---|---|---|---|
| Vinyl | Resists corrosion well; won't rust | Low — occasional cleaning | Can't be repainted if color fades; limited color options |
| Fiberglass | Very stable, resists corrosion and expansion/contraction | Low | Higher upfront cost than vinyl |
| Wood (clad exterior) | Exterior clad protects wood, but any breach exposes wood to rot risk | Higher — cladding seams need periodic inspection | Best interior appearance; more moisture sensitivity |
| Aluminum | Prone to corrosion near salt air unless properly finished | Moderate | Best for large spans/commercial-style openings, less common for coastal residential |
For most Lummi Island new-construction projects, we steer homeowners toward vinyl or fiberglass frames with corrosion-resistant hardware, simply because they hold up with the least maintenance in salt air. That's a maintenance-burden and long-term-cost recommendation based on how these materials behave in this specific environment — not a claim that other materials can't be made to work with the right upkeep.
Our Process on a New-Construction Job
New construction lets us coordinate directly with the builder or general contractor, which is exactly what should happen — window installation isn't a standalone task, it's one step in a sequence that includes framing, weather barrier, and siding.
- Review the window schedule and rough opening sizes against the actual framed openings before ordering
- Confirm frame material, glass package, and hardware finish based on the home's exposure to wind and salt
- Coordinate timing with the builder so windows go in right after the WRB is up and before siding closes in the opening
- Install sill pan flashing, set the window, and integrate head/side flashing per manufacturer instructions
- Photograph flashing details before they're covered by siding, so there's a record of what's behind the wall
- Walk the finished openings with the homeowner or builder before final sign-off
That documentation step matters more than people expect. On a remodel, you can sometimes open a wall later to check flashing. On new construction, once the siding's on, that flashing is invisible for the life of the house — so we make sure it was done right the first time and keep a record of it.
Why Local Experience on Lummi Island Specifically Matters
A crew that's only ever worked drier, inland sites doesn't automatically know how much more attention a waterfront or near-waterfront opening needs. We work throughout Birch Bay and the surrounding Whatcom County coastline, so we've seen how salt air and driving rain actually behave against a building over time — which details hold up and which ones don't. That's the kind of judgment that doesn't come from a spec sheet; it comes from working this specific stretch of coastline.
There's also a practical side to hiring local: scheduling around ferry access and site logistics for island work, being available if the builder needs a quick site visit during framing, and being reachable afterward if a question comes up during the rest of the build. A crew based nearby can do all of that without adding travel time and cost to every trip.
Questions Worth Asking Any Window Installer for a New-Construction Job
- Do you install sill pan flashing on every window, or only when specifically requested?
- How do you sequence flashing with the house wrap or WRB the builder is using?
- What frame materials do you recommend for a lot this close to the water, and why?
- Will you coordinate directly with my builder or general contractor on timing?
- Can you document flashing details with photos before siding covers them?
If a contractor can't give you a clear, specific answer to those, that's worth noticing before the walls close in.
Common Mistakes We See on New Builds
Most window problems in new construction trace back to a handful of avoidable mistakes, not bad windows. Caulk used as a substitute for proper flashing is probably the most common — it looks fine on day one and fails quietly over a few wet seasons. Reverse-lapped house wrap, where an upper layer tucks under a lower one instead of over it, is another one that's invisible until water starts tracking into the wall. Fasteners driven at the wrong spacing or angle can distort the frame just enough to cause long-term seal problems. And siding installed tight against the window trim with no drainage gap traps water right where you don't want it.
None of these mistakes show up on inspection day. They show up two, five, or ten years later as stains, soft trim, or drafts — long after it's a much bigger job to fix. That's the real argument for getting the install right the first time on new construction, when it's still straightforward to do.
Get a Free Estimate for Your Lummi Island Build
If you're framing a new home on Lummi Island or elsewhere along the Whatcom County coast, we're happy to walk through the window plan with you or your builder before installation starts. We'll look at your rough openings, talk through frame material options for your site's exposure, and give you a straightforward, no-pressure estimate. Fill out the form below to get started.