 Birch Bay Siding
 Why Windows Take a Beating on Lummi Island
Lummi Island sits out in the water, which means every window on the island is exposed to conditions that inland Whatcom County homes simply don't deal with as often. Salt-laden air off the Salish Sea works its way into hardware, sills, and seals. Driving rain off the water finds any gap in the flashing. And because so much of the island is wooded and shaded, moss and algae stay damp against siding and window trim for long stretches of the year instead of drying out between storms.
None of that means windows on Lummi Island are doomed to fail early. It means the installation has to account for the exposure from day one — the flashing details, the sealants, and the materials all matter more here than they would on a drier, more sheltered lot. A window that's installed correctly for Birch Bay's marine climate will hold up on the island too. One that's installed the way you'd do it inland won't.
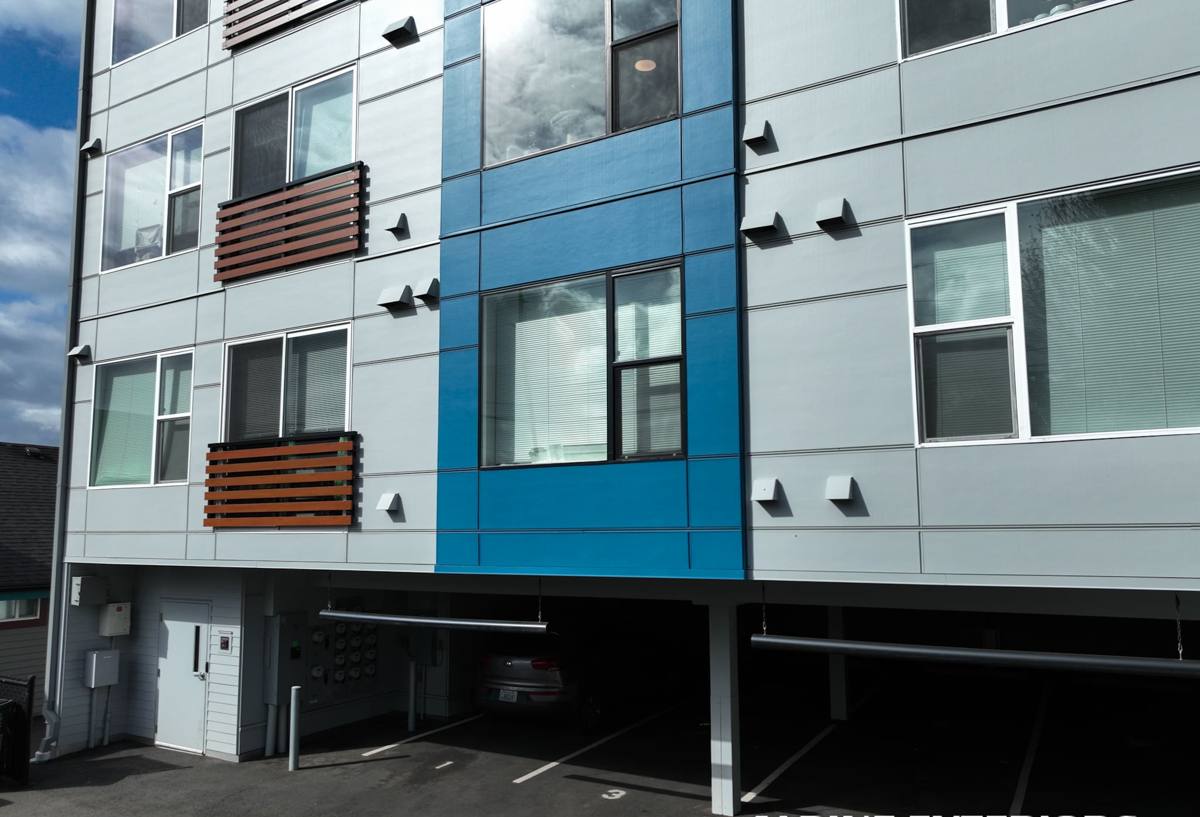
What Correct Window Installation Actually Involves
Water Management Starts Before the Window Goes In
The window itself is only part of the system. What keeps water out of the wall is the sequence underneath it — a sloped sill pan that directs any water that gets past the window back outside instead of into the framing, and proper integration with the house wrap or weather-resistive barrier so water sheds down and over each layer like shingles, never up and behind it. Skipping the sill pan or lapping the flashing backwards is the single most common reason we find rot when we open up an older window opening on the island.
Sealants and Flashing That Actually Hold Up
Caulk alone is not a water management strategy — it's a backup, and in a climate with this much driving rain, backups fail eventually. We use flashing tape and sealants rated for sustained wet exposure, not general-purpose products that harden and crack after a couple of wet winters. Weep holes at the sill need to stay clear too; a clogged weep path just traps water against the frame instead of letting it drain.
Fastening and Shimming for Long-Term Performance
Windows need to be shimmed square and plumb at the right load points, not just at the corners, or the frame will rack over time and the sash will stop sealing evenly. In salt air, fastener choice matters more than people expect — corrosion-resistant screws hold up; standard hardware store fasteners can start showing rust streaks down the siding within a couple of seasons.
Choosing Materials Built for Salt Air and Rain
There's no single "best" window material for every home — it depends on your budget, your home's style, and how much upkeep you want to take on. Here's how the common options actually perform in a salt-air, high-rainfall setting like Lummi Island:
| Material | Moisture & Salt Behavior | Maintenance | Notes for This Climate |
|---|---|---|---|
| Vinyl | Won't corrode or rot; handles moisture well | Low | Reliable, budget-friendly choice; quality varies a lot by manufacturer |
| Fiberglass | Excellent — dimensionally stable, doesn't corrode | Low | Handles temperature swings and moisture with minimal movement over time |
| Aluminum | Can pit or corrode in heavy salt exposure unless marine-grade | Moderate | Fine for some applications but needs the right spec for waterfront exposure |
| Wood / Wood-clad | Vulnerable to rot and moss growth if finish is neglected | High | Beautiful, but demands consistent upkeep in a damp, shaded climate |
Our standard for salt-air, high-moisture exposure is vinyl or fiberglass unless a homeowner specifically wants the look of wood and is committed to maintaining the finish. That's not a knock on wood windows — it's just an honest read on which materials need the least fighting against this particular climate.
Our Window Installation Process
- On-site assessment and measurement — we check the existing openings, framing condition, and siding tie-in before ordering anything.
- Product selection — we go over material, glass package, and options based on your home's exposure and your budget.
- Careful tear-out — old windows come out without tearing up more siding or trim than necessary, and we inspect the sheathing and framing underneath for hidden moisture damage.
- Sill pan and flashing installation — this is the step that determines whether the window stays dry for the next twenty years.
- Setting, leveling, and shimming — the window is set square and plumb and shimmed at proper load points.
- Insulation — gaps around the frame are filled with low-expansion foam or backer rod, never packed tight enough to bow the frame.
- Exterior trim and flashing tie-in — flashing is integrated with the surrounding siding so water sheds correctly, and trim is sealed and finished.
- Interior finish work and cleanup — interior trim is finished, and the site is cleaned up before we walk you through the finished work.
Signs Your Current Windows Are Already Failing
Salt air and driving rain don't cause windows to fail overnight — the damage builds quietly. A few things worth checking before it turns into a bigger repair:
- Fogging or moisture trapped between the panes of a double-pane window
- Soft, spongy, or discolored trim around the frame
- Peeling or bubbling paint just below the sill
- Moss or dark algae staining building up on or around the frame
- Noticeable drafts even with the window fully latched
- Windows that are hard to open, close, or lock — a sign the frame has shifted
- Cracked or shrinking caulk lines around the exterior perimeter
- Water staining or a musty smell on the interior sill or wall below the window
Any one of these on its own might be minor. Two or three together usually means water has been getting past the seal for a while, and it's worth having someone look at the framing before it turns into a rot repair instead of a window replacement.
Working Lummi Island: Logistics That Affect Your Project
Lummi Island is ferry-access only, and that changes how a window project should be planned — not the workmanship, but the scheduling. Materials need to be ordered and confirmed before crew and equipment make the crossing, because a missing part means either a wasted trip back or a job sitting half-finished with an open wall exposed to the rain. We build our island jobs around fewer, better-planned trips: everything staged and confirmed ahead of time, tear-out and installation sequenced so no opening is left open overnight if we can help it.
A lot of island homes are also older or used seasonally, which means access coordination — knowing when the home will be occupied, when it's vacant, and when a caretaker can let a crew in — matters as much as the technical side of the job. A crew that's made the crossing before knows to ask about all of this up front instead of finding out on arrival.
Cost Factors for a Lummi Island Window Project
Every home is different, but these are the factors that actually move the price on a window job out here:
| Factor | Why It Matters |
|---|---|
| Number and size of windows | Larger and more numerous openings mean more material, labor, and disposal |
| Material tier (vinyl, fiberglass, wood-clad) | Upfront cost and long-term maintenance trade off against each other |
| Hidden rot or framing damage | Not discovered until tear-out; can add repair scope beyond the window itself |
| Trim and siding tie-in | Matching or repairing surrounding siding adds labor if the opening size changes |
| Ferry logistics and scheduling | Fewer, well-planned trips keep costs predictable; last-minute changes don't |
| Permitting | Whatcom County permit requirements can apply depending on scope and structure |
We'll walk through which of these apply to your home during the estimate, so there are no surprises once the work starts.
Why a Birch Bay Crew That Already Works Lummi Island Matters
Anyone can quote a window install. Fewer contractors have actually planned a project around a ferry schedule, staged materials for a one-shot crossing, or seen firsthand how fast moss builds up on a shaded north wall out here. Being based in Birch Bay means we're close enough to the water to understand the same salt air and rain patterns the island deals with, and experienced enough with the crossing logistics that your project isn't the one we're learning on. That combination is what keeps a window job from turning into a scheduling headache or, worse, a callback for a leak that shouldn't have happened.
If your Lummi Island windows are original, drafty, or showing the early signs of water getting where it shouldn't, we're happy to take a look and give you a straight answer about what it needs. Reach out for a free, no-pressure estimate using the form below — we'll tell you honestly what we find.