 Birch Bay Siding
 Siding Built for the Terrell Creek Side of Birch Bay
Terrell Creek sits on the quieter, more wooded edge of Birch Bay, where homes back up to drainage corridors, mixed timber, and low-lying ground that stays damp long after the rest of Whatcom County has dried out. That combination — shade, moisture, and salt-laden air blowing in off the bay — is one of the toughest siding environments in the county. It's not the same exposure as a bluff-front lot getting direct wind and spray, but it's arguably harder on siding in a different way: less sun to dry things out, more organic debris settling against walls, and humidity that lingers in the tree cover. We install James Hardie fiber cement siding exclusively, and neighborhoods like Terrell Creek are exactly why. This page covers what that job actually looks like here — not a generic siding pitch, but what correct installation and product choice mean for this specific pocket of Birch Bay.
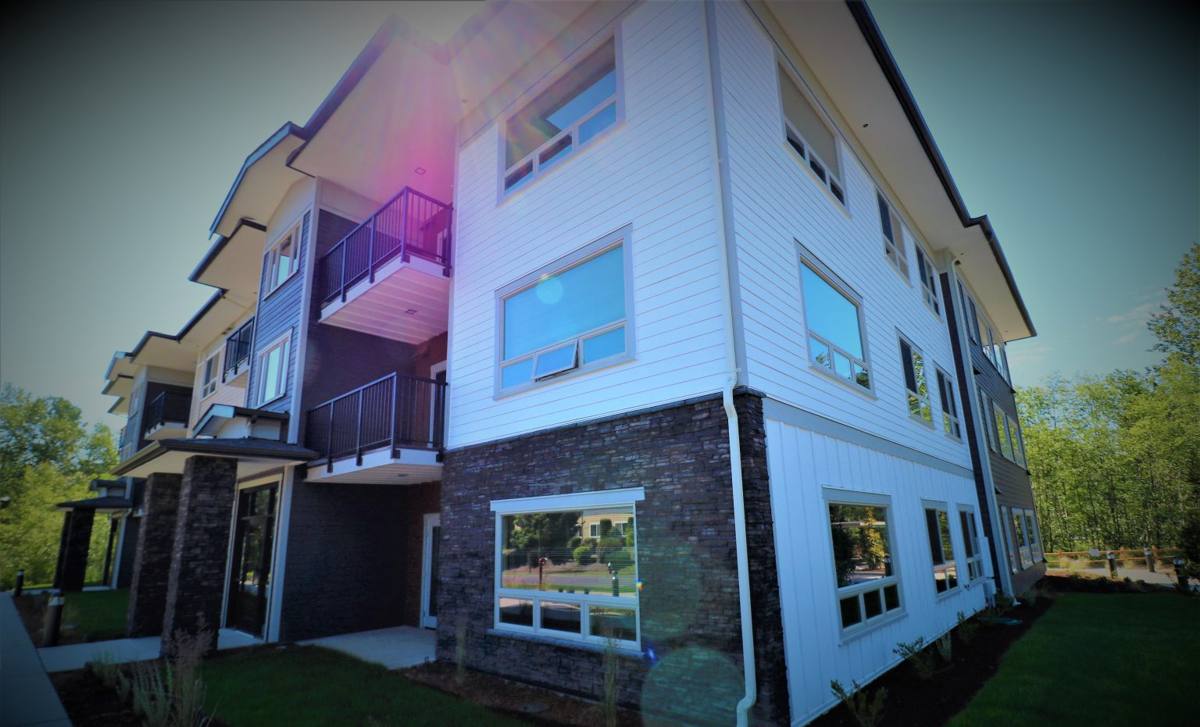
What This Climate Does to a Wall
Three things define siding performance in the Terrell Creek area, and all three compound each other:
Salt Air
Birch Bay's marine air carries fine salt particulate well inland, and it doesn't stop at the waterfront lots. It settles on siding, fasteners, and trim, accelerating corrosion on anything not rated for coastal exposure and slowly breaking down paint films and caulk joints over years of exposure.
Driving Rain
Whatcom County gets a lot of rain, but the damaging part isn't just volume — it's wind-driven rain that gets pushed sideways into siding laps, trim returns, and butt joints. Wooded, sheltered lots like many in Terrell Creek reduce direct wind load, but they also slow evaporation, so any water that does get behind or into the siding system sits longer before it dries.
Moss and Organic Growth
Shaded, moisture-retentive lots grow moss aggressively — on roofs, on decks, and on siding, especially north-facing walls and anywhere debris collects at the base of a wall or under overhangs. Moss holds water directly against the siding surface for months at a time, which is a slow but real threat to any material that isn't dimensionally stable and rot-resistant at its core.
Put those three together and you get a wall assembly that needs to shed water fast, resist organic growth without degrading, and hold a factory finish through decades of salt exposure. That's the bar we're installing to on every Terrell Creek job.
Why We Install Only James Hardie Here
We don't carry LP SmartSide, vinyl, Cemplank, Allura, primed spruce, or cedar, and Terrell Creek is a good example of why. Wood-based siding — even engineered wood — depends on an intact factory coating to keep moisture out. In a shaded, moss-prone microclimate, that coating is under constant attack from trapped moisture and organic growth, and once it's compromised at a cut edge or fastener line, the substrate underneath can start absorbing water. Vinyl doesn't rot, but it flexes with temperature swings, its seams and J-channels give moss and debris somewhere to collect, and its color is baked in rather than factory-cured onto a fiber cement substrate — so it fades and chalks over the same salt-air years that James Hardie's ColorPlus finish is engineered to resist.
James Hardie fiber cement is non-combustible, dimensionally stable, and doesn't feed organic growth the way wood-based products can once moisture gets involved. The HZ5 product line is engineered specifically for climates like this — cold, wet, and freeze-thaw capable — and the ColorPlus factory finish is baked on and backed by its own finish warranty, which matters more in a salt-air environment than almost anywhere else in the county. That's the honest reason we standardized on one product line instead of offering several: fewer trade-offs to manage for a homeowner in an area that punishes the wrong ones.
What Correct Installation Looks Like on a Terrell Creek Home
The product is only half the equation. Fiber cement siding fails prematurely almost exclusively because of installation mistakes, not material defects — and in a wet, shaded environment those mistakes show up faster.
- Clearance from grade and roofing: Hardie's own installation instructions call for minimum clearances from soil, decks, and roof lines. On wooded, sloped lots we adjust flashing and trim details to hold those clearances even where the yard doesn't cooperate.
- Rainscreen or drainage gap where warranted: A ventilated gap behind the siding lets any moisture that does get in dry out instead of sitting against the water-resistive barrier — important on shaded walls that get less solar drying.
- Correct fastener spec: Stainless or hot-dip galvanized fasteners, set to Hardie's pattern and depth, to resist the corrosion that salt air accelerates on lesser hardware.
- Sealed and back-primed cut edges: Every field cut gets sealed per Hardie's spec — factory edges are protected, but a raw cut edge left untreated is where moisture intrusion starts.
- Proper joint and butt-seam treatment: Tight, correctly flashed butt joints instead of caulk-and-hope seams, since caulk is the first thing to fail under repeated wetting.
- Trim and flashing details sized for wind-driven rain: Kick-out flashing at rooflines, proper head flashing over openings, and laps that shed water instead of catching it — details that matter more here than on a dry-side lot.
Skip any one of these and the siding itself can still be excellent material sitting behind a wall that fails anyway. That's the gap between "installed" and "installed correctly," and it's where most premature siding problems in this county actually come from.
Moss and Growth Management After Install
No siding is maintenance-free in a corridor like this one, but James Hardie's fiber cement composition gives homeowners a real advantage: it doesn't provide the same food source or moisture pathway that organic-based sidings do, so moss and algae growth tends to stay a surface issue rather than a structural one. Even so, a few habits go a long way on shaded Terrell Creek lots:
- Keep tree limbs and shrubs trimmed back from walls so airflow and sunlight reach the siding surface.
- Clear debris — needles, leaves, moss mats — from the base of walls and window sills before it holds moisture against the material.
- Rinse north-facing and shaded walls periodically rather than letting moss establish over multiple seasons.
- Have caulking and trim joints checked every few years; even correctly installed sealant has a service life in this exposure.
Cost Factors Specific to This Job
Every Terrell Creek estimate is shaped by the same handful of site conditions. Here's what actually moves the number, separate from generic material pricing:
| Factor | Why It Matters Here |
|---|---|
| Access and lot slope | Wooded, sloped lots common in Terrell Creek can require staging, extended scaffolding, or hand-carrying material further from the truck. |
| Existing siding removal | Moisture-damaged sheathing found under old siding in shaded walls sometimes needs repair before new siding goes on — this gets scoped honestly during the estimate, not discovered mid-job. |
| Trim and flashing detail count | Homes with more rooflines, dormers, and wall transitions need more flashing work to handle driving rain correctly, which adds labor beyond the base square footage. |
| HZ5 vs. standard product selection | Coastal and high-moisture exposures generally call for Hardie's climate-specific HZ5 formulation, which factors into material cost. |
| ColorPlus vs. field-painted finish | Factory-applied ColorPlus costs more up front than primed siding painted on site, but it removes an entire maintenance cycle in a salt-air environment. |
Why a Crew That Already Works This Area Matters
Terrell Creek's mix of shaded, sloped, moisture-heavy lots isn't the same job as a flat, open bay-front property, and it isn't the same job as an inland Whatcom County home either. A crew that's worked this specific stretch of Birch Bay knows to check for the moisture patterns that show up on north-facing and tree-shaded walls, knows which grade and drainage adjustments this terrain typically needs, and isn't guessing at flashing details on the fly. That local repetition is what keeps a job on schedule and keeps callbacks rare — it's the difference between a crew reading a spec sheet for the first time and one that's already solved these lot conditions before.
Our Process for a Terrell Creek Project
- On-site assessment: We walk the property, check existing siding and sheathing condition, note grade clearance, shade patterns, and any moss or moisture staining that points to trouble spots.
- Written estimate: A clear scope covering material, HZ5 vs. standard selection, trim and flashing detail, and any sheathing repair anticipated — no vague allowances.
- Prep and removal: Old siding comes off, sheathing gets inspected and repaired as needed, and the water-resistive barrier and drainage plane go in correctly before any Hardie board is hung.
- Installation to spec: Fastener pattern, clearances, cut-edge sealing, and flashing done to Hardie's published installation requirements — not shortcuts that only show up as problems years later.
- Final walkthrough: We go over the finished job with the homeowner, including care and maintenance specific to a shaded, salt-air lot.
Get a Straight Estimate for Your Terrell Creek Home
If you're planning a siding replacement in the Terrell Creek area of Birch Bay, we'll walk the property, tell you honestly what your specific lot needs, and put together a written estimate — no pressure, no upsell into a product we don't stand behind. Reach out through the form below for a free estimate.