 Birch Bay Siding
 Building New in Birch Bay Village? Your Windows Have One Job: Keep the Weather Out for 30+ Years
If you're framing a new home or a major addition in Birch Bay Village, the windows are one of the few components that get exactly one chance to be installed right. Once the siding goes on and the drywall is hung, the flashing behind those windows is buried for good. In most of Whatcom County that's a manageable risk. On a shoreline-adjacent site like Birch Bay, it isn't — salt-laden air, wind-driven rain off the Strait of Georgia, and a moss season that runs most of the fall through spring all work against any weak point in the water-resistive barrier around a window opening.
We install new-construction windows for builders and homeowners working in Birch Bay Village specifically because the failures we get called to fix almost always trace back to the same handful of shortcuts taken during the original install — not the window unit itself. This page covers what correct new-construction window work looks like here, what it should cost, and what to ask before you sign a contract with anyone touching your framing.
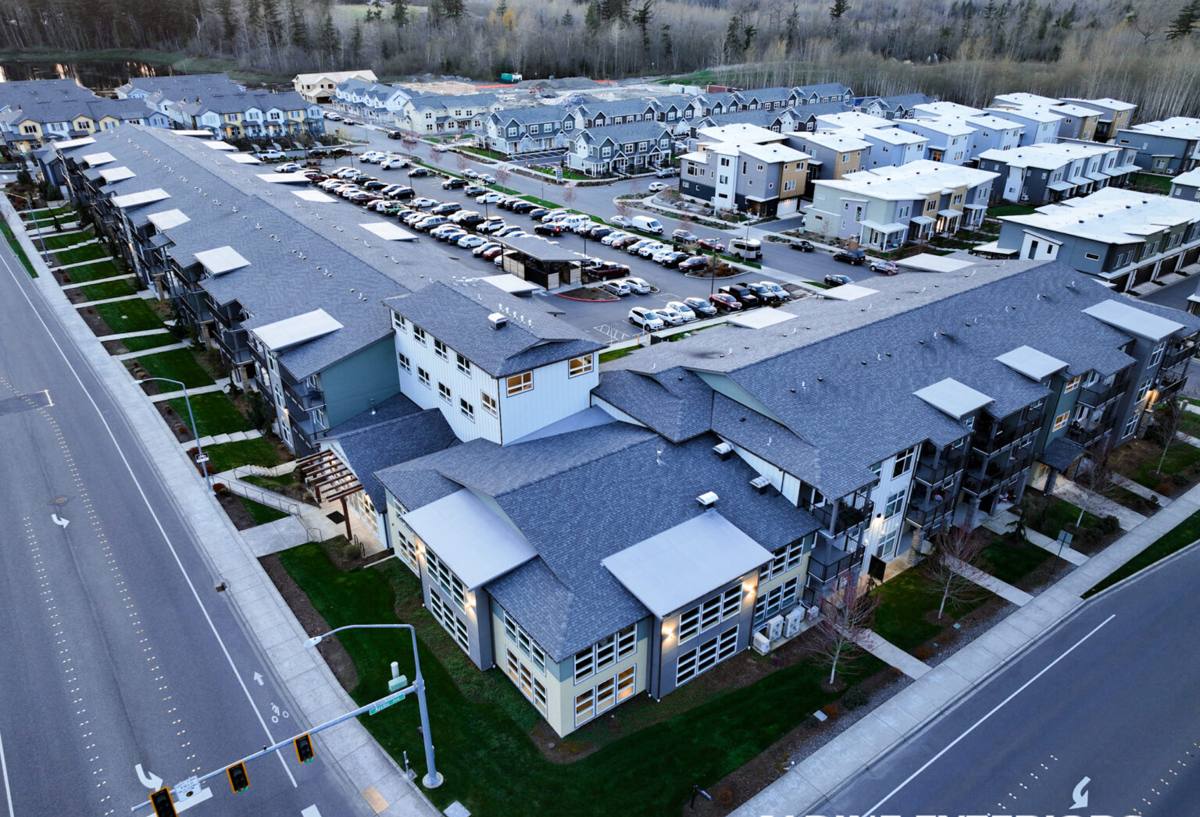
New-Construction vs. Replacement Windows: Why the Method Is Completely Different
New-construction windows use a nailing flange (fin) that gets integrated directly into the wall's weather-resistive barrier before siding goes on. Replacement windows, by contrast, get inserted into an existing opening with the old exterior trim left in place. These are not interchangeable methods, and a crew that mostly does replacement work isn't necessarily set up to do new-construction flashing correctly — the sequencing, the flashing tape layering, and the sill pan work are a different skill set entirely.
On a new build in Birch Bay Village, the window install happens during the framing and weatherization stage, which means it has to be coordinated with the builder's schedule, the WRB (house wrap) installer, and the siding crew. Get that sequence wrong — siding installed before flashing is properly lapped, or windows set before the WRB is up — and you've built a leak path into the wall that won't show up until years later, often as rot discovered during a remodel.
Why Sequencing Matters More Here
Birch Bay Village sits close enough to the water that wind-driven rain hits building envelopes at angles a standard flashing detail doesn't always account for. We treat every new-construction window opening as a drainage plane problem first and an aesthetics problem second — water needs a planned path out of the wall assembly no matter what gets past the window itself.
What a Correct New-Construction Window Install Actually Involves
There's no shortcut version of this that holds up on a coastal lot. The order of operations matters as much as the materials:
- Rough opening is checked for square, level, and correct dimensions before anything else happens.
- A sloped sill pan is built or installed at the bottom of the opening so any water that gets past the window has a way to drain back out over the WRB, not into the framing.
- Self-adhered flashing tape is applied at the sill first, then up the jambs, then across the head — always in a shingle-lap order so each layer sheds water onto the one below it.
- The window is set, shimmed plumb and square, and fastened through the nailing flange per the manufacturer's schedule — not just a few nails in the corners.
- Head flashing is installed over the top flange and integrated under the WRB above the window, never just caulked over the top.
- Backer rod and exterior sealant are applied at the trim and siding interface, with weep points left open so incidental water can still escape.
Skip the sill pan or reverse the lap order on the flashing tape and the window can look perfectly installed for years before a leak shows up — usually as staining or soft trim discovered during a later project.
Choosing Windows for a Salt-Air, High-Rain Site
Material and hardware choice matters more in Birch Bay than it does further inland. Salt-laden air accelerates corrosion on unprotected metal components, and constant damp conditions favor materials that don't hold moisture against wood.
| Frame Material | How It Handles This Climate | Maintenance |
|---|---|---|
| Vinyl | Won't corrode or rot; performs well in salt air; can show UV wear over decades | Low — occasional cleaning |
| Fiberglass | Very stable in temperature swings and moisture; strong corrosion resistance | Low |
| Aluminum-clad wood | Good weather-side protection, but hardware and cladding seams need attention near salt air | Moderate — watch cladding seams and hardware |
| Bare wood | Attractive but highest risk in a wet, salty, moss-prone environment without diligent upkeep | High — regular refinishing |
We don't push one brand over another on this page, but we do flag hardware as a real decision point: look for stainless or corrosion-rated cranks, locks, and screws on any window going into a home this close to the water. Standard-grade hardware is often the first thing to fail in a coastal install, well before the frame or glass show any wear.
Glass and Energy Performance
Washington's energy code sets minimum U-factor requirements for new construction, and most window lines sold in this market meet or beat those numbers with standard low-E, argon-filled double-pane glass. For a Birch Bay Village build, we'll also talk through solar heat gain coefficient (SHGC) based on how much direct exposure each elevation gets — a south- or west-facing wall with a lot of glazing behaves differently than a shaded north wall that spends more of the year fighting moss and damp than sun.
Code, Egress, and Wind Load — What Applies to a Birch Bay Village Build
New-construction windows in Whatcom County have to satisfy Washington State Energy Code minimums, and any bedroom window has to meet egress requirements for opening size and sill height — this gets checked at framing inspection, so it needs to be right the first time, not adjusted after drywall. Depending on your specific lot's exposure, your builder's structural plans may also call for a minimum design pressure (wind load) rating on windows facing open water or unobstructed wind — that's a spec we confirm against the plans before ordering, not something to guess at after the units arrive.
Our Process on a New-Construction Job
We work as a sub to your general contractor or builder, or directly with you if you're owner-building. Either way, the process looks the same:
- Review the window schedule against the plans and confirm sizes, egress, and any wind-load spec before ordering
- Coordinate install timing with the framer and WRB installer so windows go in at the right point in the sequence, not before or after the wall is ready
- Install with sill pan flashing, shingle-lapped tape, and proper head flashing on every opening — no exceptions for openings that are "less exposed"
- Walk the exterior with your builder before siding closes anything in, so any flashing detail can be checked while it's still visible
- Provide documentation of what was installed and how, useful for warranty claims and for your own records if you ever sell the home
What New-Construction Windows Cost
Cost depends heavily on window count, size, material, and how the opening interacts with the rest of the envelope. These are broad ranges to help you budget conversations with your builder, not a quote:
| Factor | Effect on Cost |
|---|---|
| Frame material (vinyl vs. fiberglass vs. clad-wood) | Vinyl is typically the most budget-friendly; fiberglass and clad-wood run higher per unit |
| Window size and count | Larger openings and higher window counts scale cost roughly linearly, plus more flashing labor |
| Wind-load / impact rating | Higher design-pressure-rated units cost more than standard-rated windows |
| Coastal-grade hardware | Upgraded corrosion-resistant hardware adds a modest per-window premium |
| Access and framing complexity | Second-story, oversized, or oddly shaped openings add labor time |
Checklist: What to Ask Before You Sign a New-Construction Window Contract
- Does the quote include sill pan flashing at every opening, not just caulk and trim?
- Is the flashing sequence (sill, jamb, head, WRB integration) specified in writing, not left to "standard practice"?
- What hardware grade is included, and is corrosion-resistant hardware an option for this site?
- Who is coordinating timing with the framer and WRB installer — the window crew, or is that left to you?
- What's the warranty on the window unit versus the warranty on the installation labor, and who do you call if a leak shows up in year three?
- Has anyone confirmed the wind-load rating against your specific elevation and exposure, or was a standard-rated window assumed by default?
Why a Crew That Already Works Birch Bay Village Is Worth Something
None of the flashing principles above are secret — they're in every window manufacturer's install guide. What's harder to get from a crew that doesn't regularly work this specific stretch of Whatcom County is a feel for how exposed a given lot actually is, which elevations take the worst of the driving rain, and where moss and standing damp are going to be a long-term maintenance issue versus a non-issue. We work Birch Bay Village regularly enough to make those calls without guessing, and to flag a wind-load or exposure concern to your builder before it becomes a change order mid-project.
If you're framing a new home or addition in Birch Bay Village and want windows installed the way this site actually demands, we're happy to walk the plans with you and give a straightforward, no-pressure estimate — just use the form below.