 Birch Bay Siding
 Birch Bay Village Sits in a Tough Microclimate for Siding
Birch Bay Village homes take a different kind of beating than houses ten miles inland. The neighborhood sits close enough to the water that salt-laden air is a daily fact of life, not an occasional event. Add Whatcom County's long wet season, wind-driven rain that gets pushed sideways into wall assemblies, and the shaded, damp stretches of the year where moss and algae get a real foothold, and you have a set of conditions that will find every weak point in a siding system within a few years, not a few decades.
This isn't a page about James Hardie siding in general. It's about what that product needs to do, specifically, on a home in Birch Bay Village, and what has to happen during installation for it to actually perform the way it's supposed to in this environment.
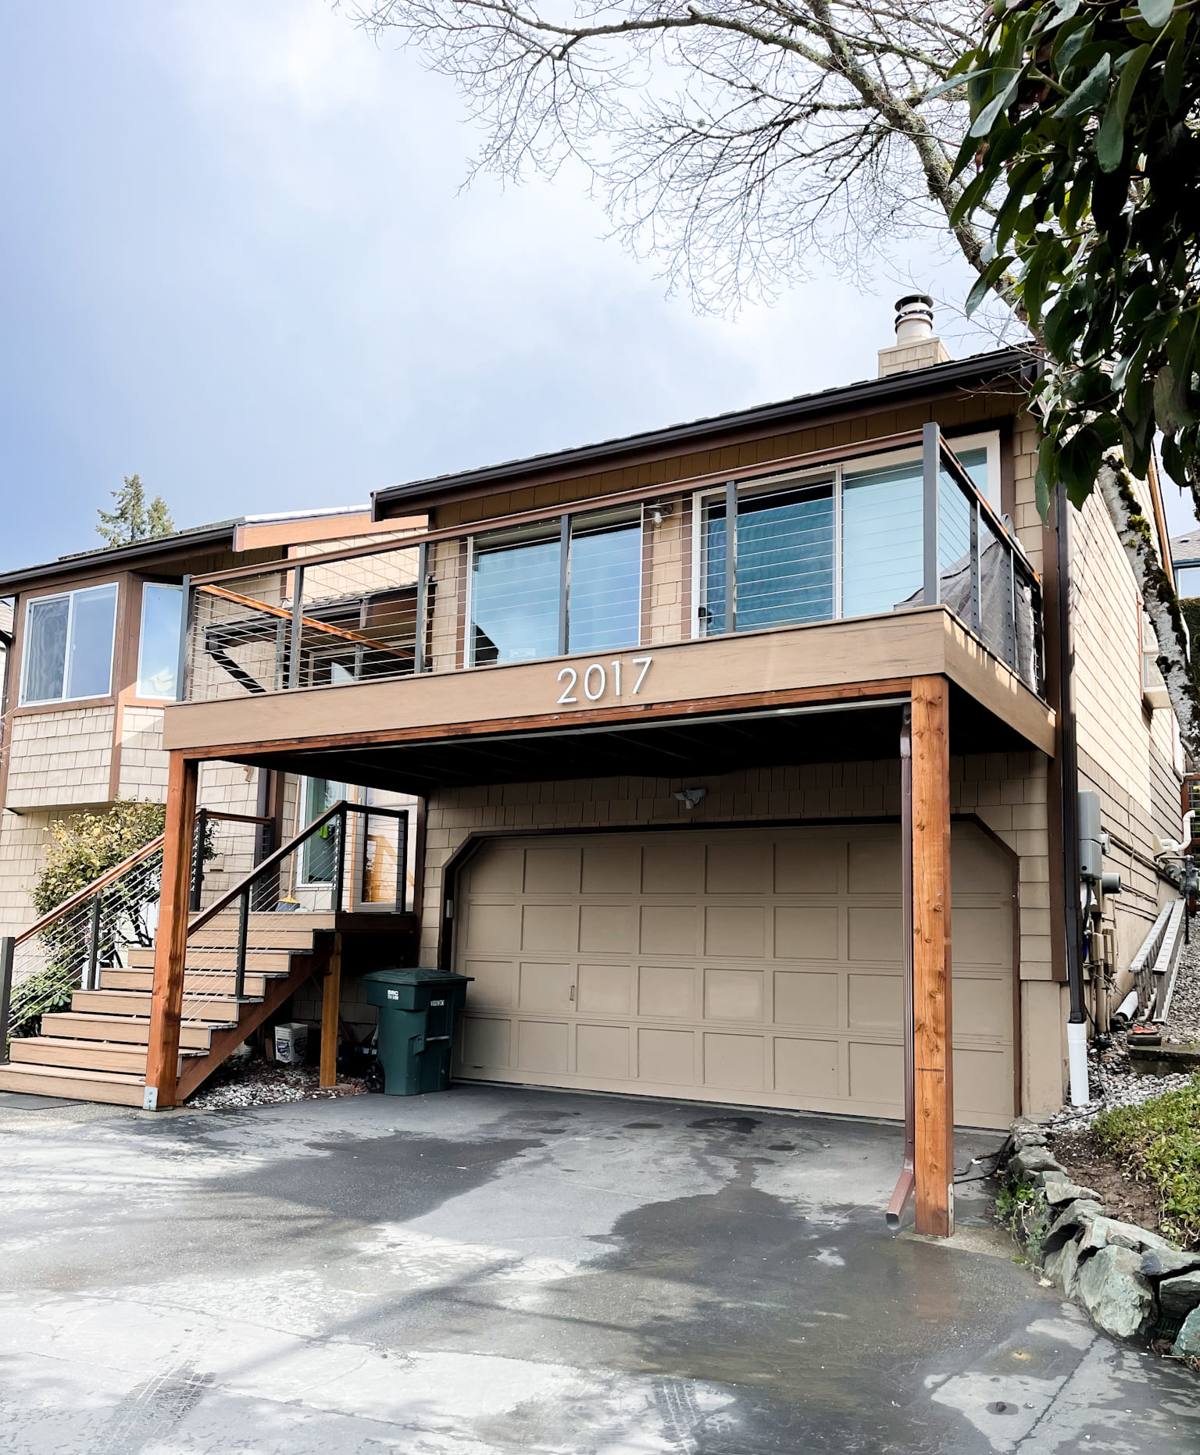
What Salt Air, Rain, and Moss Actually Do to Siding
Salt Air
Airborne salt is corrosive and hygroscopic — it pulls moisture out of the air and holds it against whatever surface it lands on. On siding materials that aren't dimensionally stable or that rely on paint film alone for protection, that means faster finish breakdown, chalking, and in some cases accelerated decay at seams and cut edges.
Driving Rain
Wind off the water doesn't just add volume to a rainstorm, it changes the angle. Rain gets driven up and under laps, into panel joints, and behind trim that would stay dry in a calmer inland setting. Any siding system installed with the wrong gaps, clearances, or flashing details will let that water find a way behind the cladding.
Moss and Algae Season
Whatcom County's shoulder seasons stay damp and shaded for long stretches, especially on north-facing walls and under eaves. That's exactly the environment moss and algae need to establish themselves on a siding surface, and once established they hold moisture against the material even longer, extending the damage cycle.
Why James Hardie Is the Right Material for This Environment
James Hardie fiber cement is engineered specifically for climate zones like ours. The HZ5 product line, developed for the wetter regions of North America, resists moisture absorption and the swelling, cracking, and rot that come with it far better than wood-based or wood-adjacent siding products. That matters directly in Birch Bay, where the material spends much of the year at high humidity with regular saturation events.
A few specifics that are relevant to this exact location:
- Fiber cement does not absorb water the way engineered wood products do, so it doesn't swell, delaminate, or lose structural integrity when it stays wet for days at a time.
- It's non-combustible, which matters less for salt air directly but is part of why we standardized on it as our single product line.
- ColorPlus factory finish is baked on and UV-cured, giving it better resistance to fading and chalking from sun and salt exposure than field-applied paint.
- It doesn't feed moss and algae growth the way some organic-based siding materials can, though it still needs to be kept clean in shaded, damp areas.
None of that means Hardie is maintenance-free in this setting. It means it starts from a much stronger baseline than the alternatives, and it stays sound even when installation and upkeep aren't perfect — which matters, because perfect upkeep on every home isn't realistic.
What a Correct Installation Involves Here
Hardie siding performs to its rating only when it's installed to the manufacturer's specifications, and those specifications get more important, not less, in a high-exposure coastal environment. A few details that carry extra weight on a Birch Bay Village home:
Water Management Behind the Siding
A correctly built drainage plane — house wrap, properly lapped and taped, with flashing at every horizontal transition, window, and penetration — is what actually keeps a home dry, not the siding surface itself. In a driving-rain environment, water getting behind the cladding is a matter of when, not if, so the drainage plane has to be able to shed that water back out.
Gaps, Clearances, and Fastening
Hardie panels and lap siding need specific gaps at butt joints, corners, and trim to allow for expansion and to keep water from wicking into cut edges. Fastener placement and depth matter too — over-driven nails crack the material's edge and create an entry point for moisture, which is a bigger problem here than in a drier climate because that moisture has more opportunities to arrive.
Sealing Cut Edges
Every field cut exposes raw fiber cement that isn't factory-sealed. Those edges need to be primed and sealed before installation, every time, with no exceptions for cuts that "probably won't get wet." In this location, everything gets wet eventually.
Ground Clearance and Bottom Course Detailing
Homes near the water often have grading and drainage patterns that push more moisture toward the foundation line. Maintaining proper clearance between the bottom of the siding and grade, decking, or roofing keeps the lowest, most vulnerable course of siding out of standing water and splash-back.
Correct vs. Incorrect Installation Practices
| Detail | Correct Practice | Common Shortcut |
|---|---|---|
| House wrap / weather barrier | Fully lapped, taped seams, integrated flashing at every opening | Stapled loosely, seams untaped, flashing skipped at small openings |
| Panel/joint gaps | Manufacturer-spec gap maintained, sealed with compatible caulk | Panels butted tight or gapped inconsistently |
| Cut edges | Primed and sealed before install | Left raw, assumed to be "protected enough" by trim |
| Fasteners | Correct type, spacing, and set depth per Hardie spec | Over-driven, wrong fastener type, inconsistent spacing |
| Bottom clearance | Minimum clearance maintained above grade, decks, and roofing | Siding run down close to grade or hard surfaces |
Our Process on a Birch Bay Village Home
The process itself isn't exotic, but each step gets adjusted based on what we see on the specific house:
- Assessment — we look at wall orientation relative to wind and water exposure, existing moisture damage, current drainage plane condition, and any areas already showing moss or algae buildup.
- Prep and tear-off — old siding comes off, sheathing gets inspected for hidden water damage (common on homes that have had marginal siding for years), and any rot or compromised framing gets addressed before anything new goes up.
- Weather barrier and flashing — house wrap and flashing get installed to current best practice, not just "code minimum," with particular attention to window and door openings and any wall penetrations.
- Hardie installation — panels or lap siding installed to manufacturer spec: correct gaps, fastening, sealed cut edges, and proper clearances at grade, trim, and roof lines.
- Finish and inspection — trim, caulking at appropriate joints (not as a substitute for correct flashing), and a final walk-through before we consider the job done.
Why a Crew That Already Works This Neighborhood Matters
A lot of what makes a siding job hold up here isn't in a manual — it's knowing which walls on a given lot take the worst of the wind, which roof-to-wall transitions tend to leak on homes of a certain age and construction style in this area, and how much drainage clearance actually makes sense given how wet the ground stays for parts of the year. A crew that has done this work up and down Birch Bay and the surrounding Whatcom County coastline has already seen what fails and why, on homes very similar to yours, and builds those lessons into every installation rather than relying on the spec sheet alone.
There's also a practical side: local crews know the permitting and inspection expectations for this area, show up on a schedule that accounts for our weather patterns rather than guessing, and are still around years later if a warranty question comes up.
Maintaining Hardie Siding in a Salt Air and Moss Environment
Correct installation gets you most of the way there, but a little ongoing attention keeps the siding looking and performing its best in this climate:
- Rinse the exterior periodically to remove salt residue, especially on walls that face the water directly.
- Keep gutters and downspouts clear so roof runoff isn't dumping extra water onto wall sections during storms.
- Trim back vegetation and tree cover where it's keeping a wall shaded and damp for extended periods — a leading contributor to moss and algae growth.
- Address moss or algae growth early with a gentle wash rather than letting it establish and hold moisture against the surface.
- Have caulking at trim and penetrations checked periodically, since caulk degrades faster under UV and salt exposure than the siding itself.
- Watch for any soft spots, staining, or discoloration near the bottom courses, which can signal a drainage or clearance issue worth checking.
What Affects the Cost of a Hardie Siding Project Here
| Factor | Why It Matters in Birch Bay Village |
|---|---|
| Existing wall condition | Homes with hidden moisture damage from prior siding need sheathing repair before new siding goes on |
| Wall exposure | Sides facing prevailing wind and water need extra attention to flashing and clearances, which adds labor |
| Siding profile chosen | Lap siding, panel siding, and shingle-style profiles differ in material and labor cost |
| Trim and detail work | Homes with more corners, windows, and architectural detail take longer to flash and finish correctly |
| Access | Lot slope, landscaping, and proximity to neighboring structures affect scaffolding and staging time |
We don't publish blanket per-square-foot pricing because these factors genuinely change the number from one house to the next — but we'll walk your specific home and give you a straight answer, not a range padded to cover surprises.
If you're weighing a siding replacement on a Birch Bay Village home, we're glad to come take a look and walk you through exactly what your walls need, with no pressure to sign anything on the spot. The estimate is free — use the form below to get started.